
STEP 1
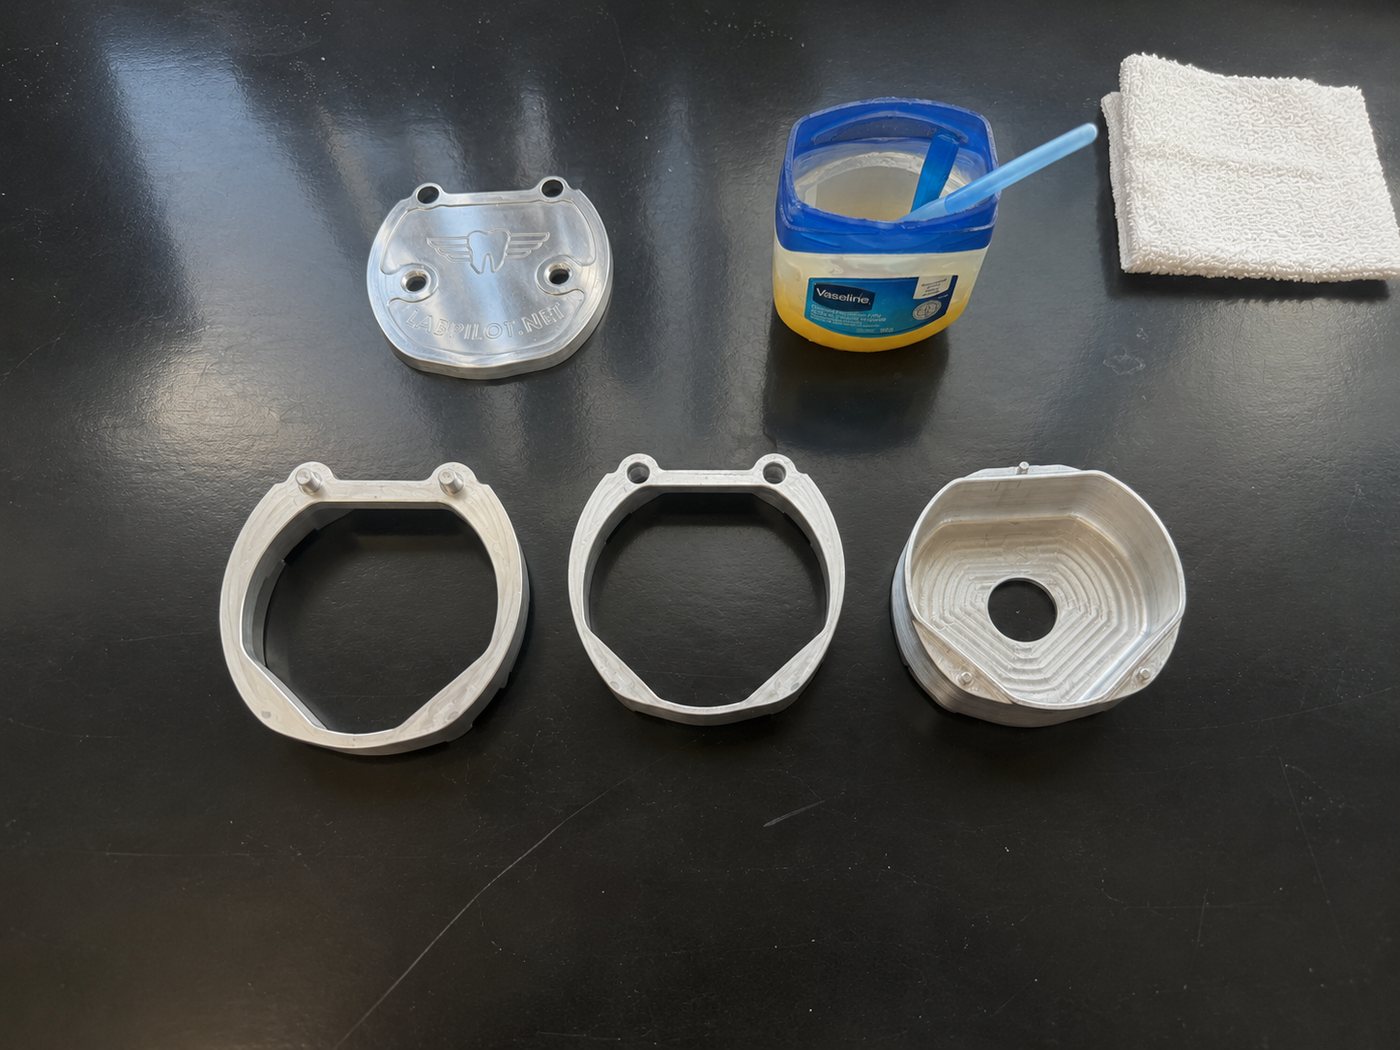
Gather all flask components.

Instruction Manual
Heat Cure
The same start as cold cure, then the extra flasking, packing, and cure steps before milling.
STEP 1
Gather all flask components.
STEP 2
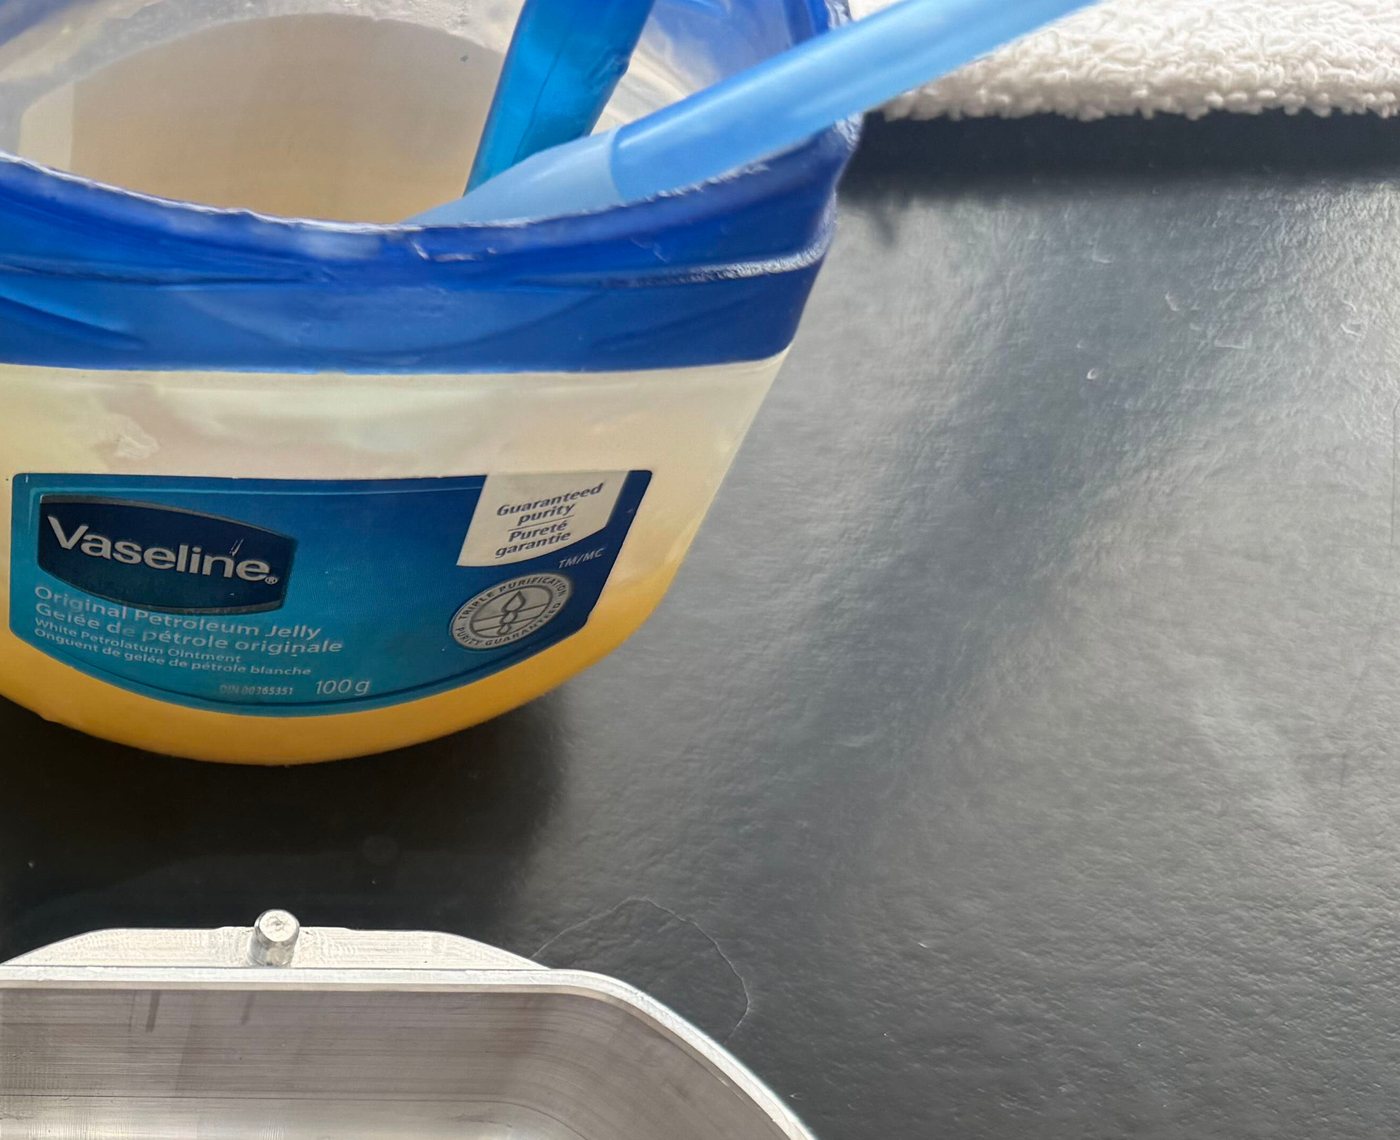
Prepare the internal surfaces with Vaseline.
STEP 3
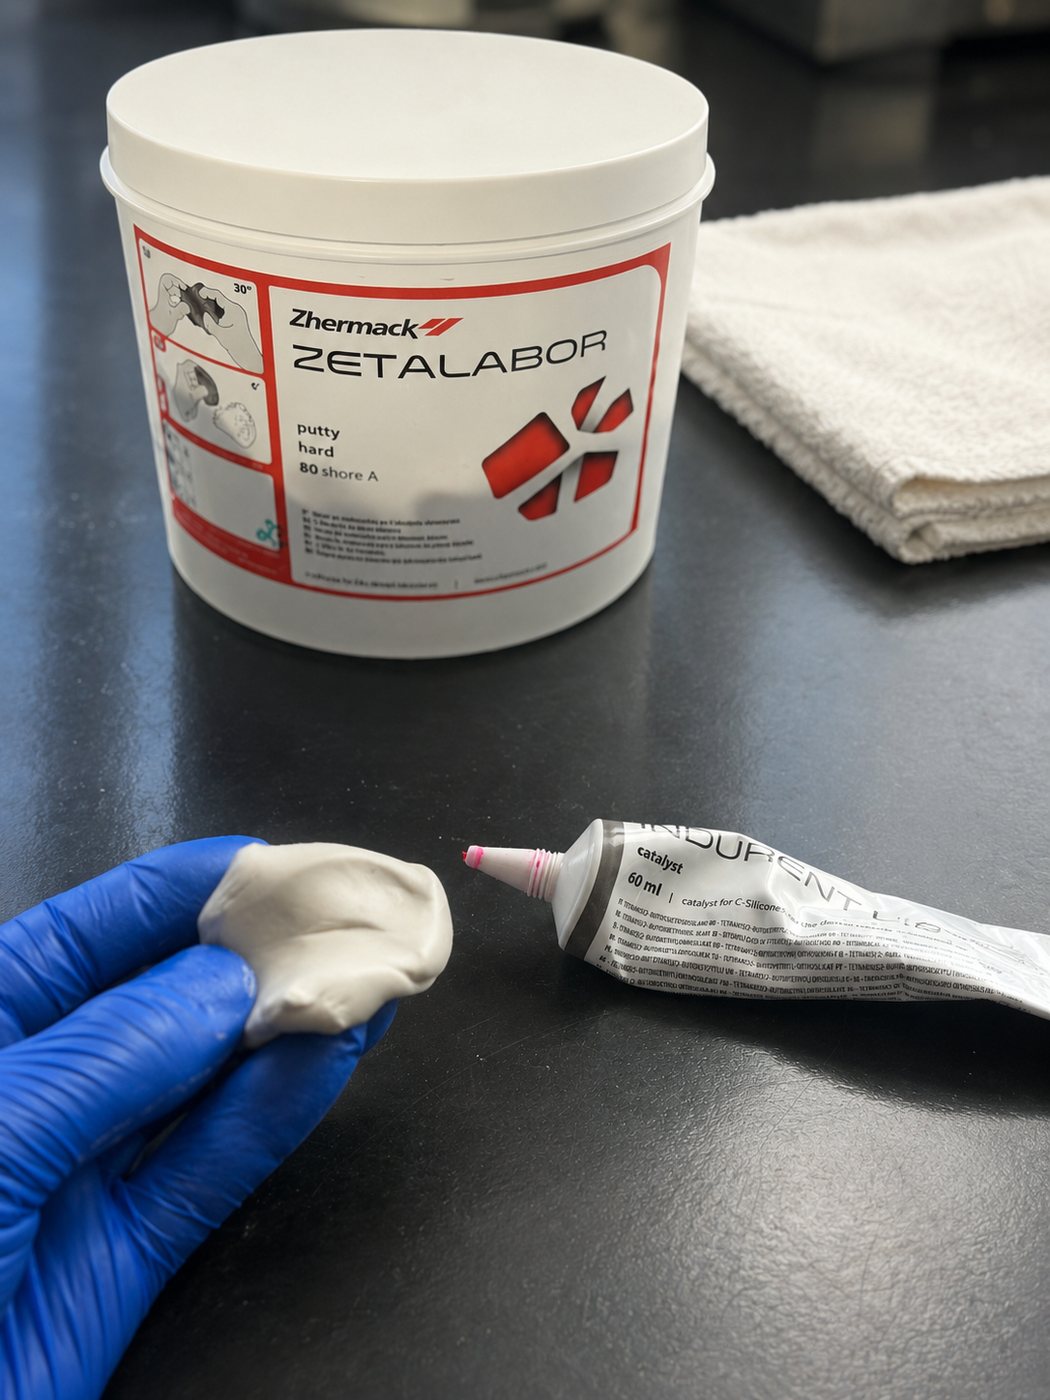
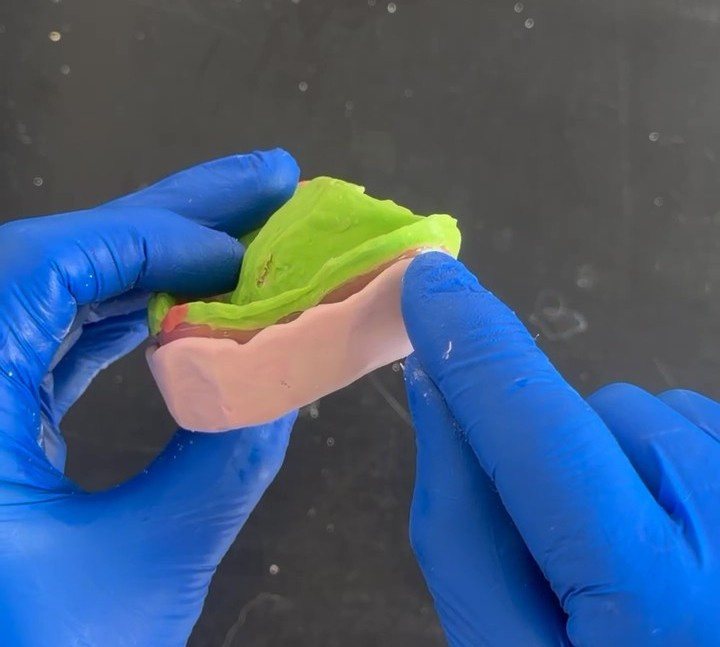
Protect the teeth/prosthetic with Lab Putty (recommended).
STEP 4
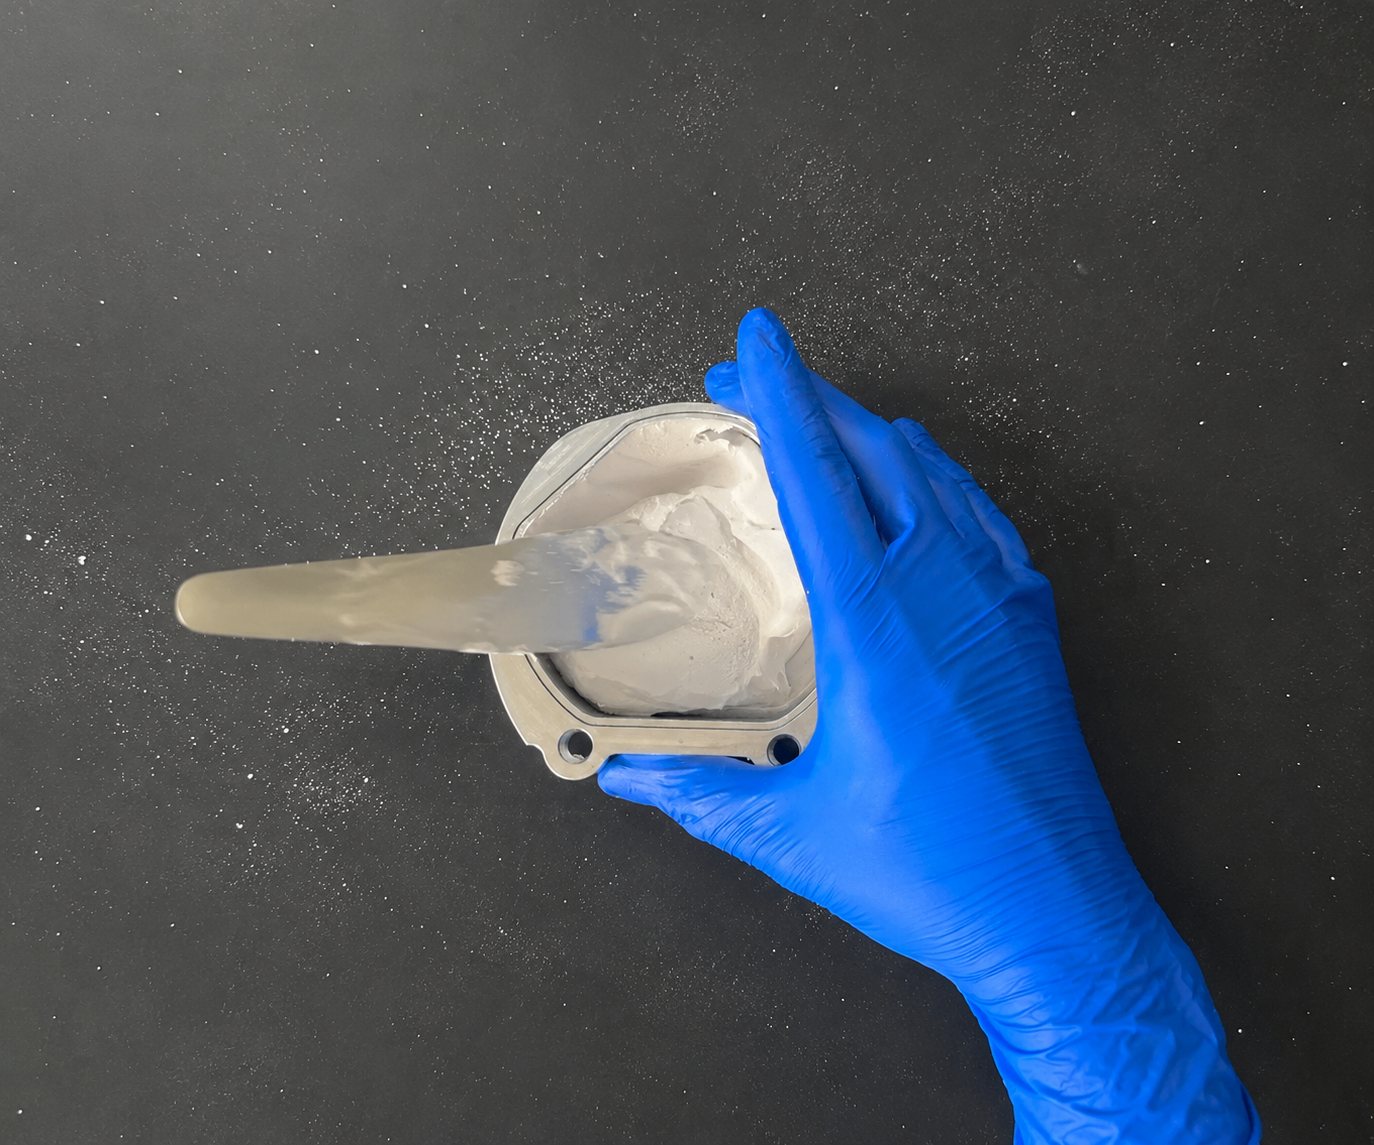
Mix the plaster and/or stone according to manufacturer instructions.
STEP 5
Place the Flask Adapter onto the Flask Base.
STEP 6
Fill the Flask bottom with plaster/stone.
STEP 7
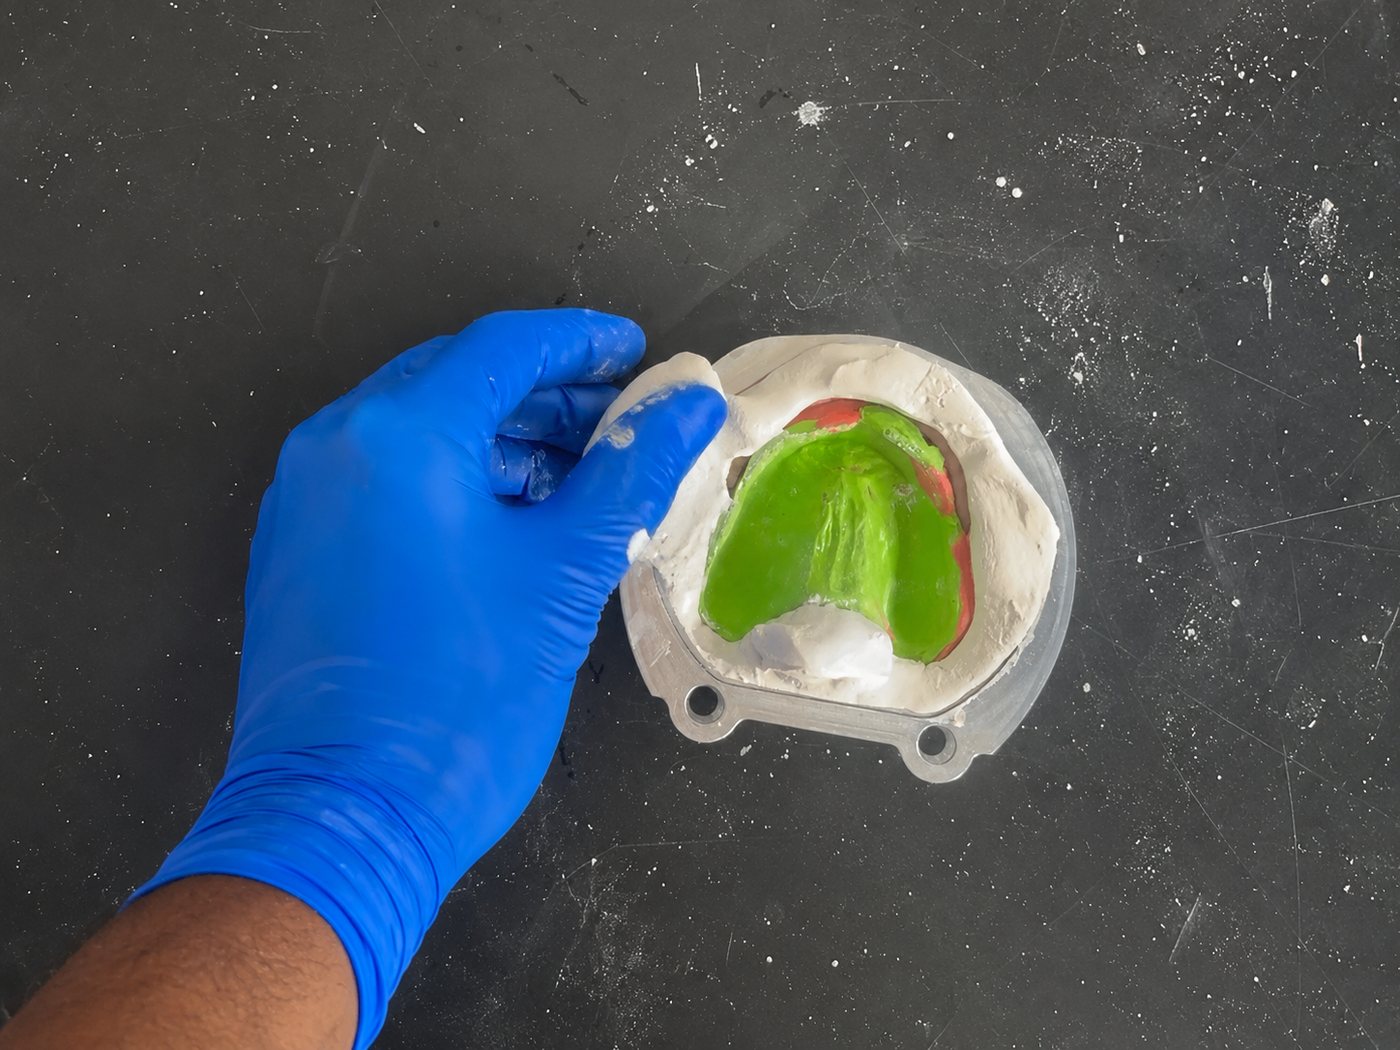
Position the prosthetic tissue-fitting surface facing upward inside the flask.
STEP 8
Position the prosthetic within the container, not above.
STEP 9
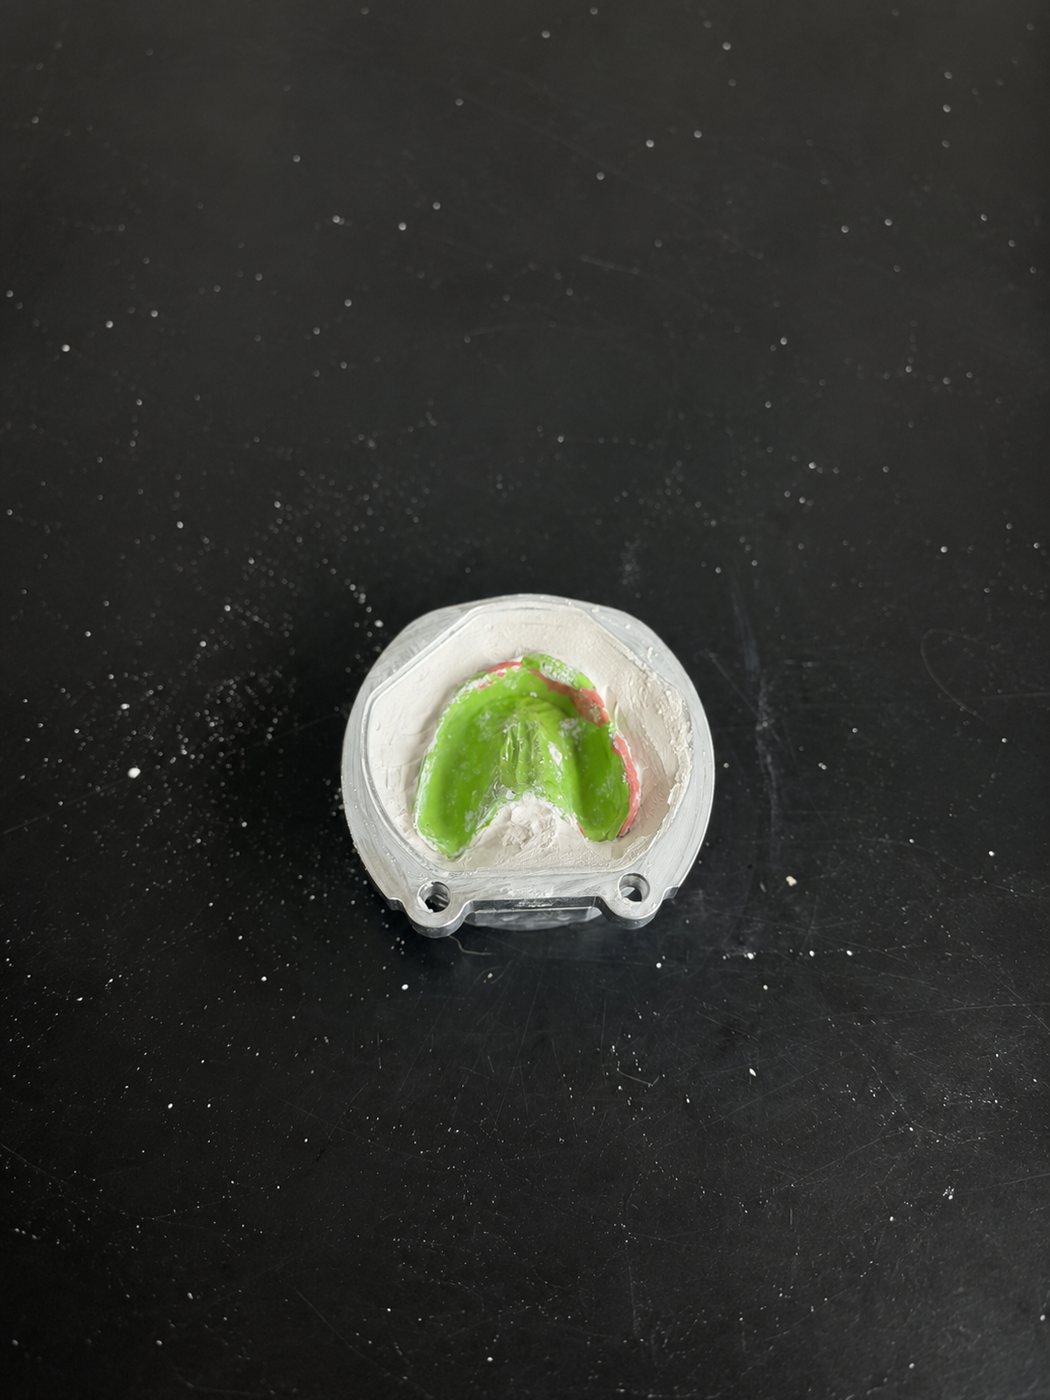
Remove any excess plaster/stone.
STEP 10
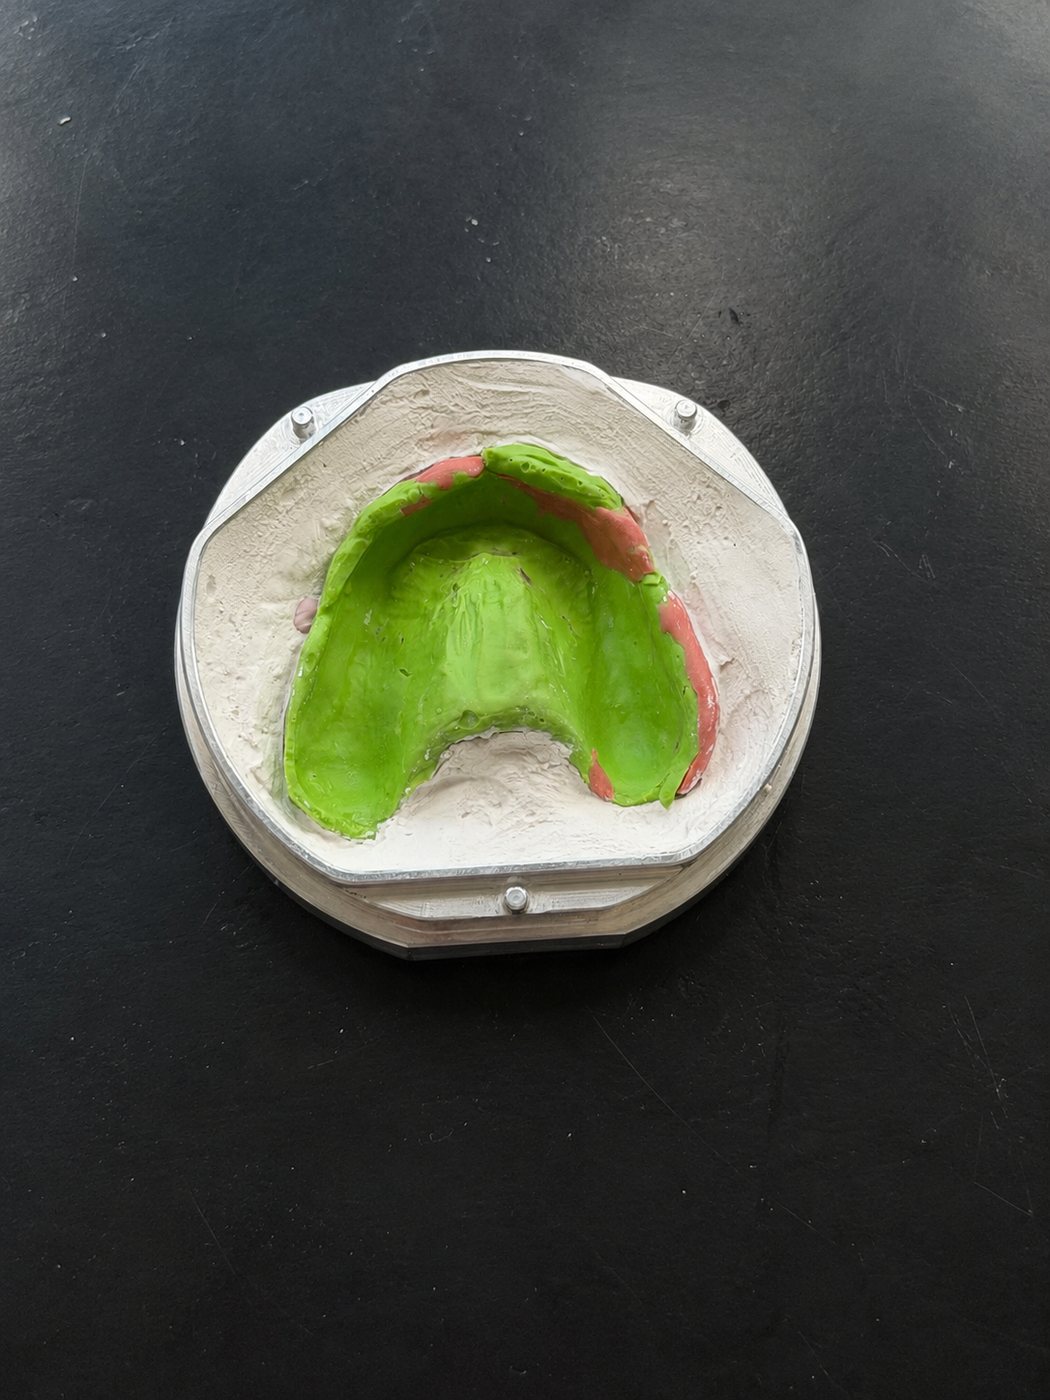
Remove the Flask Adapter from the Flask Base and prepare for scanning.
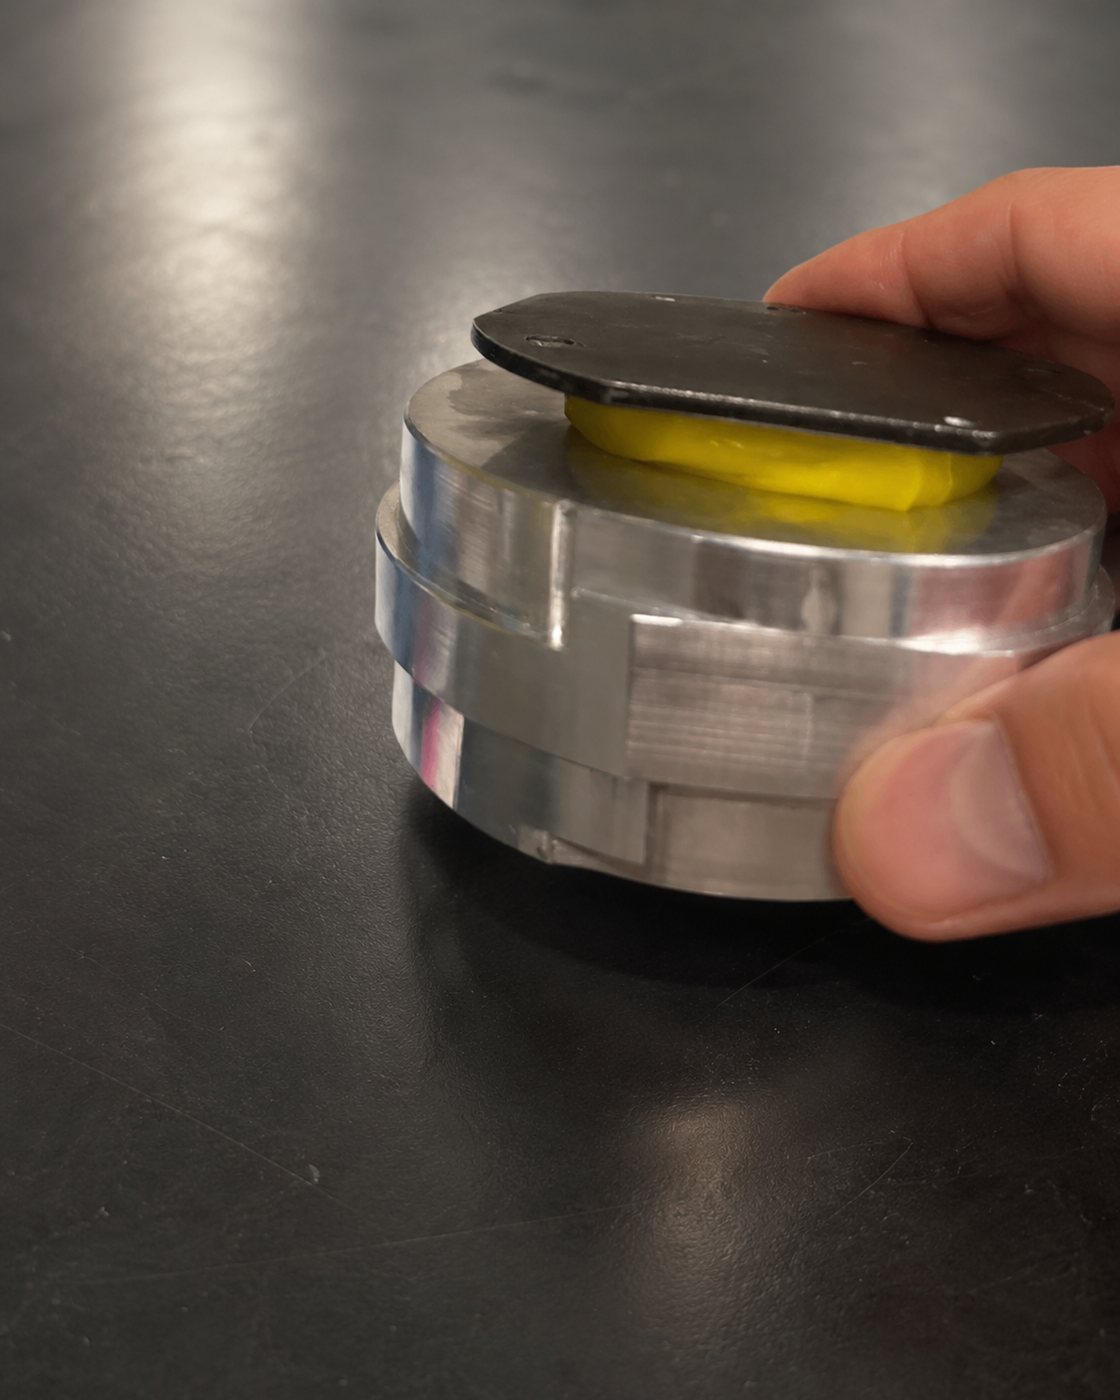
STEP 11
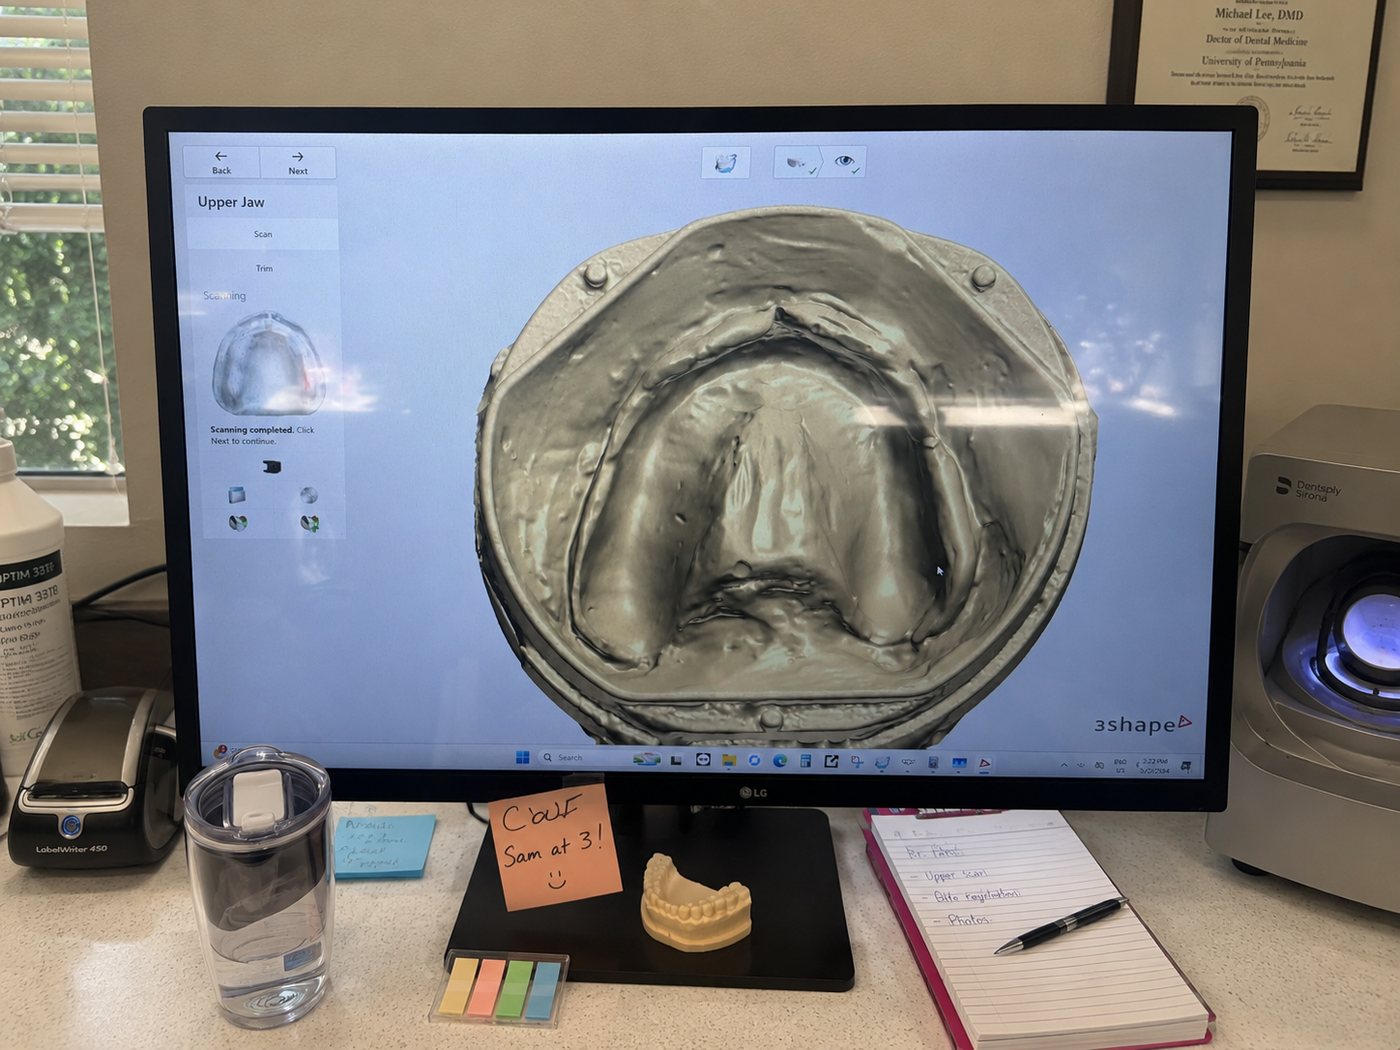
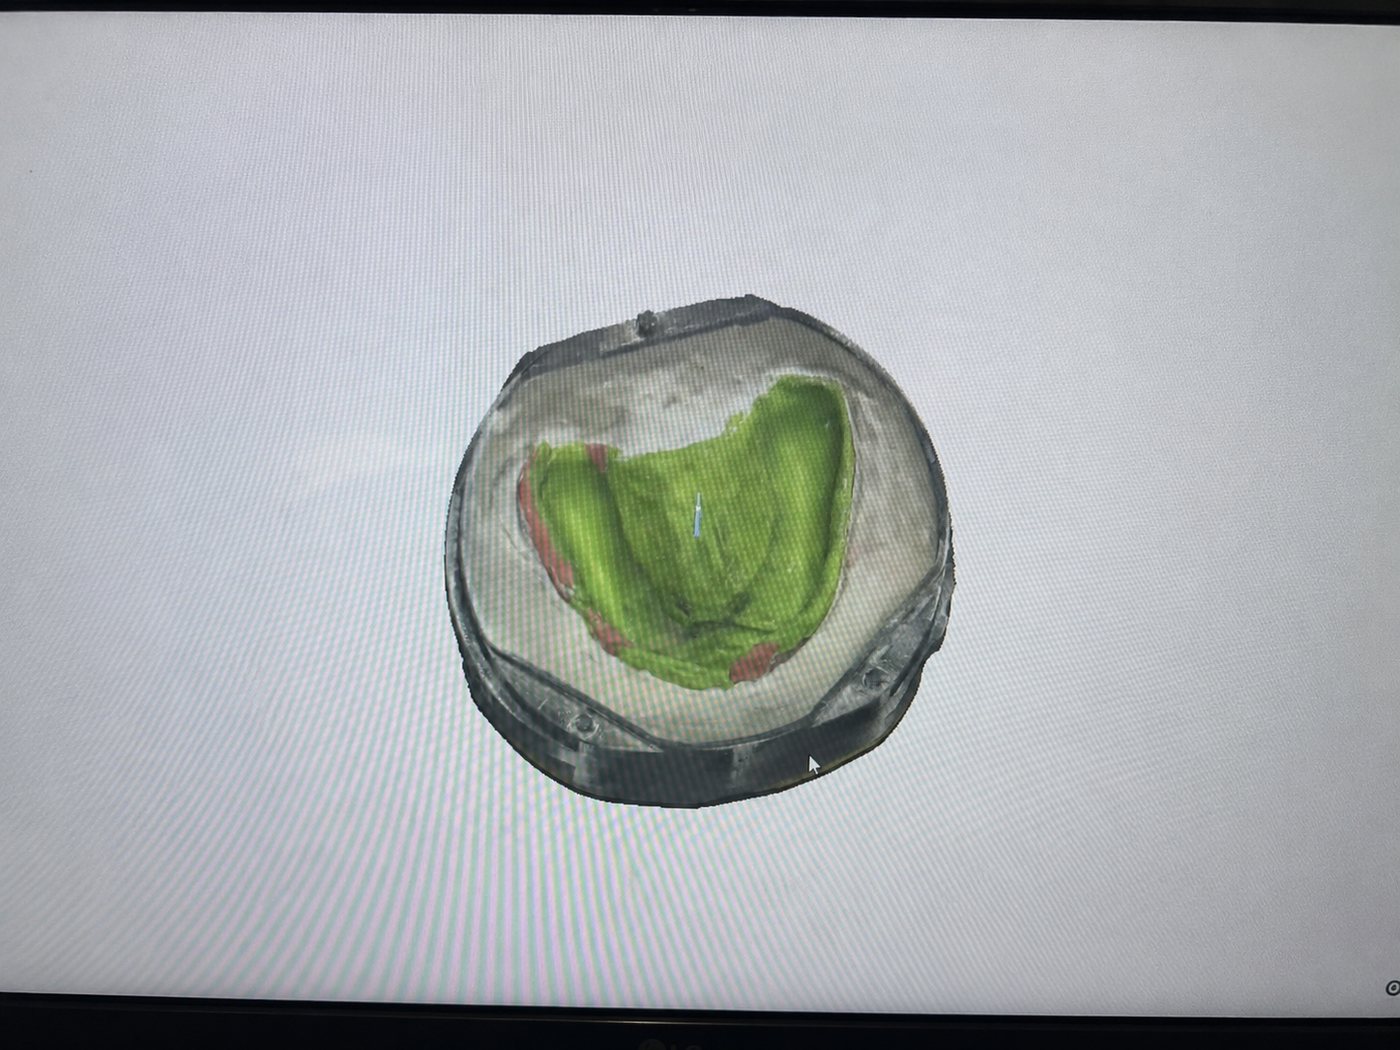
Scan the flask, ensuring all three alignment posts are clearly visible.
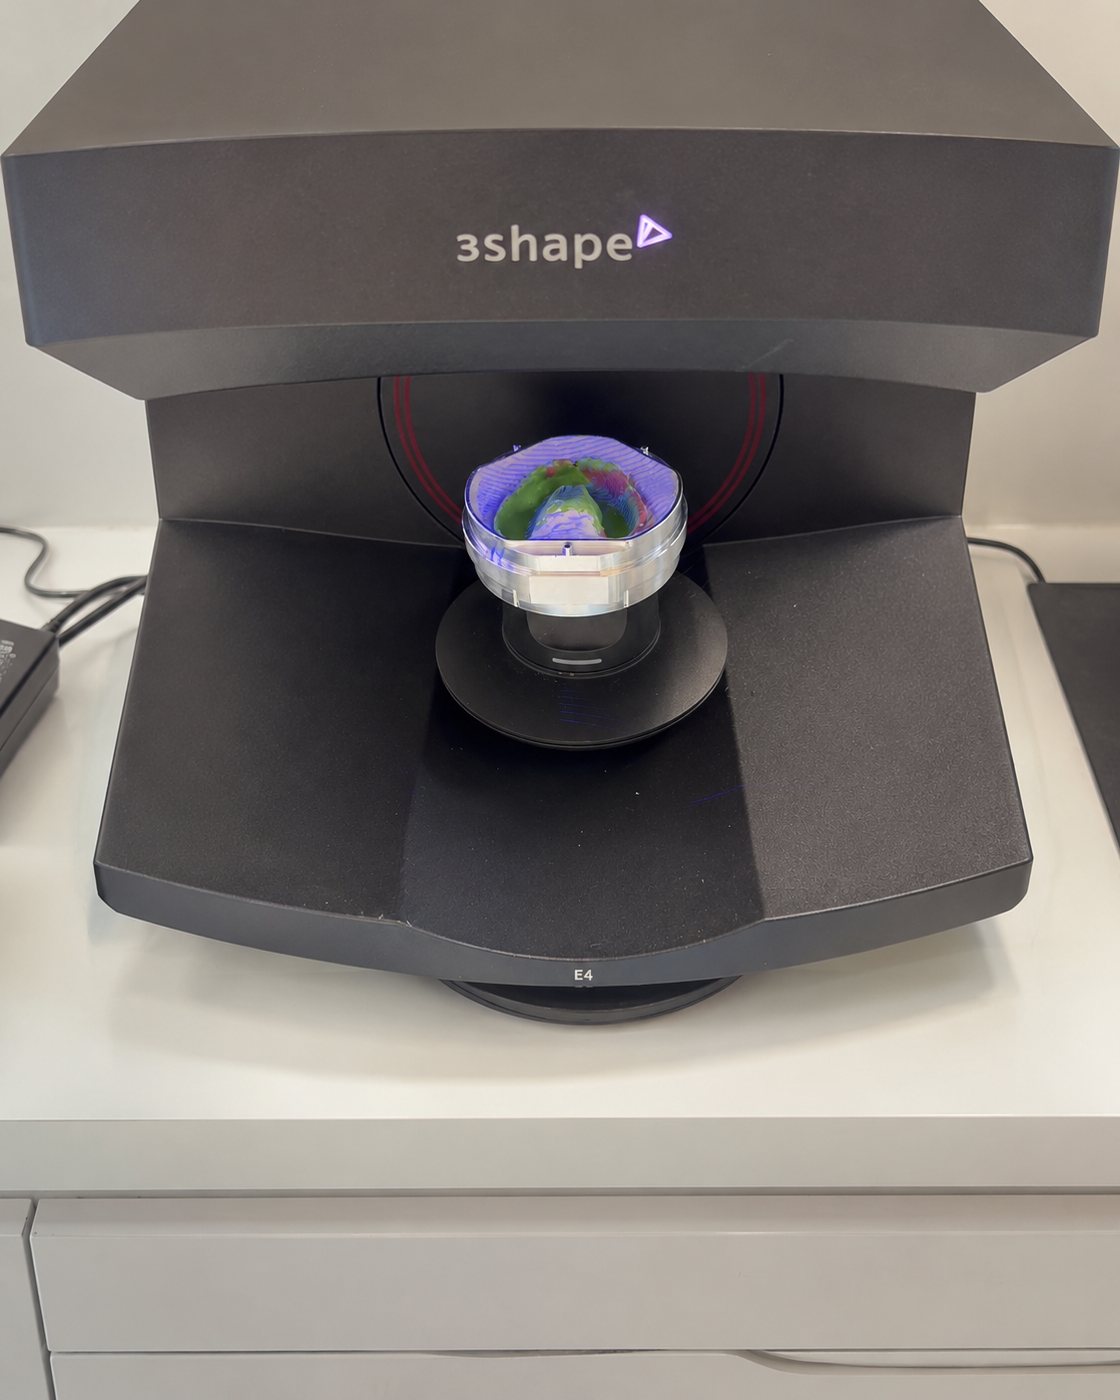
STEP 12
Upload the STL file to LabPilot.net (upload DCM files for Express Finishing).
A) For Cold Cure, prepare to add flowable acrylic, then proceed to fill and mill.
B) For Heat cure continue flasking procedure by adding a spacer, like wax, on top of the prosthetic.
STEP 13
Place the spacer on the prosthetic to compensate for acrylic shrinkage and/or warpage while hardening.
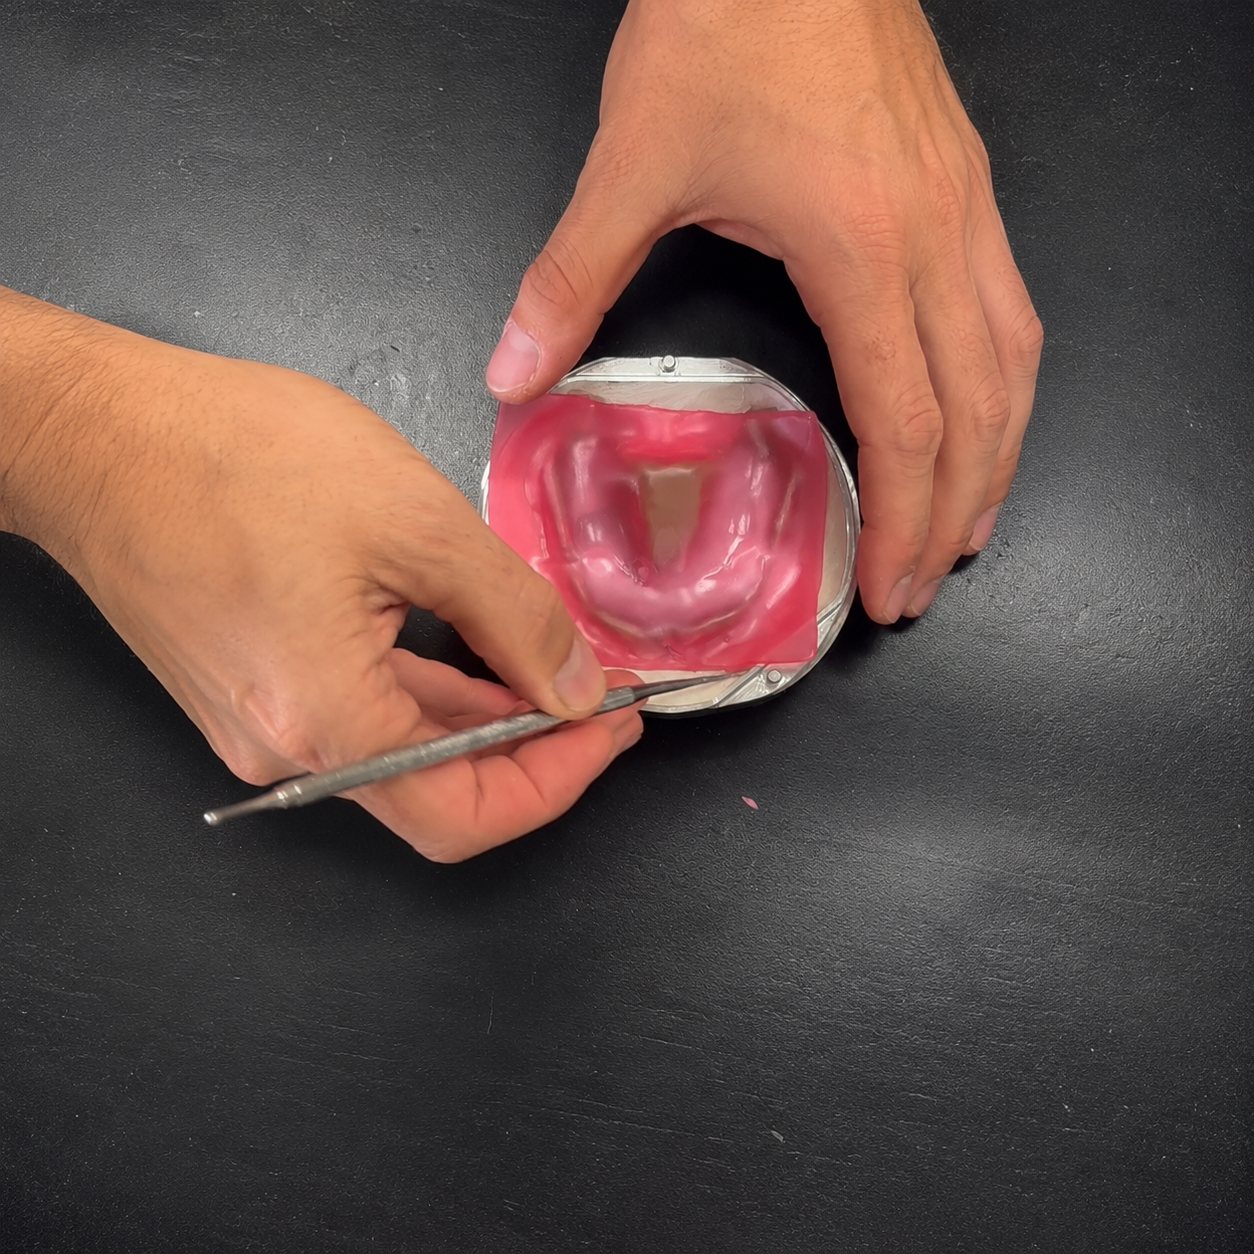
STEP 14
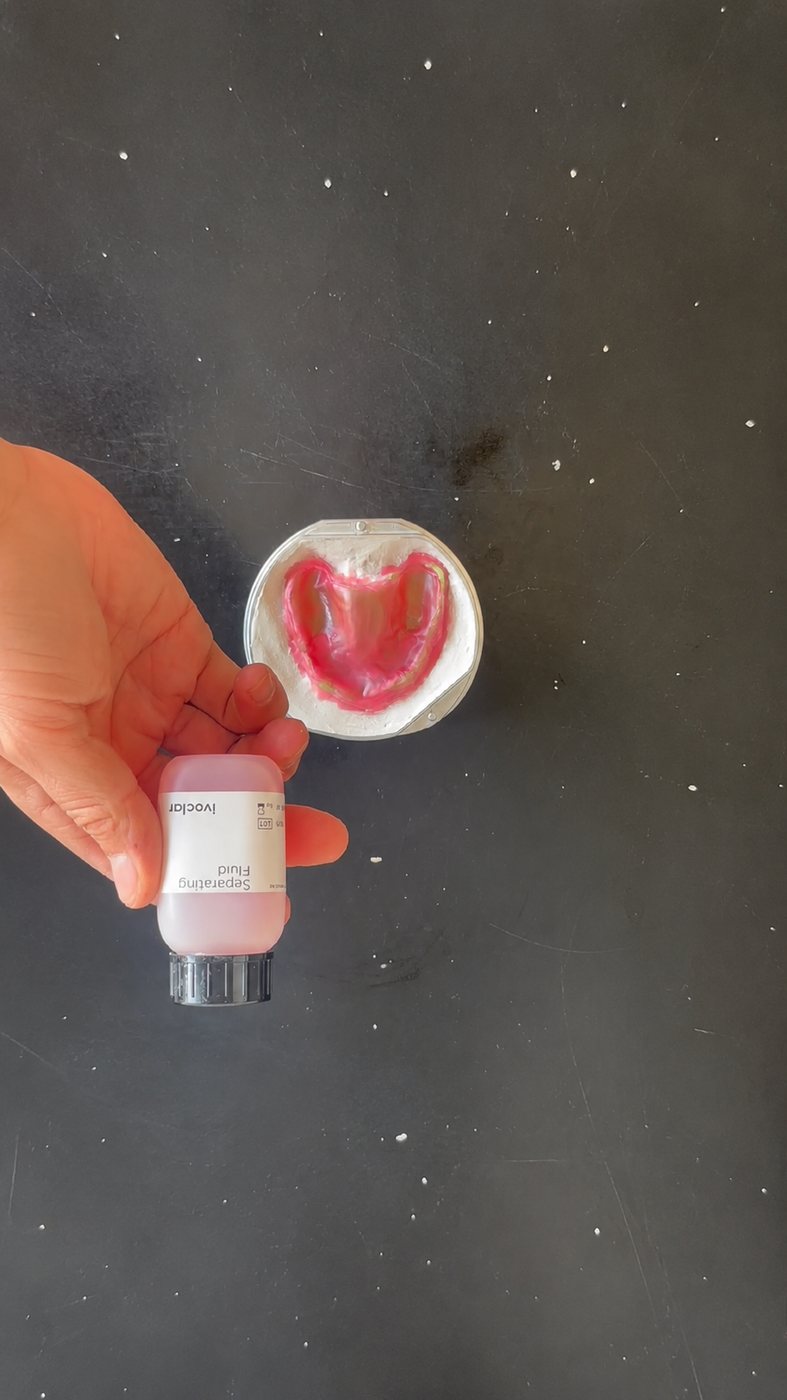
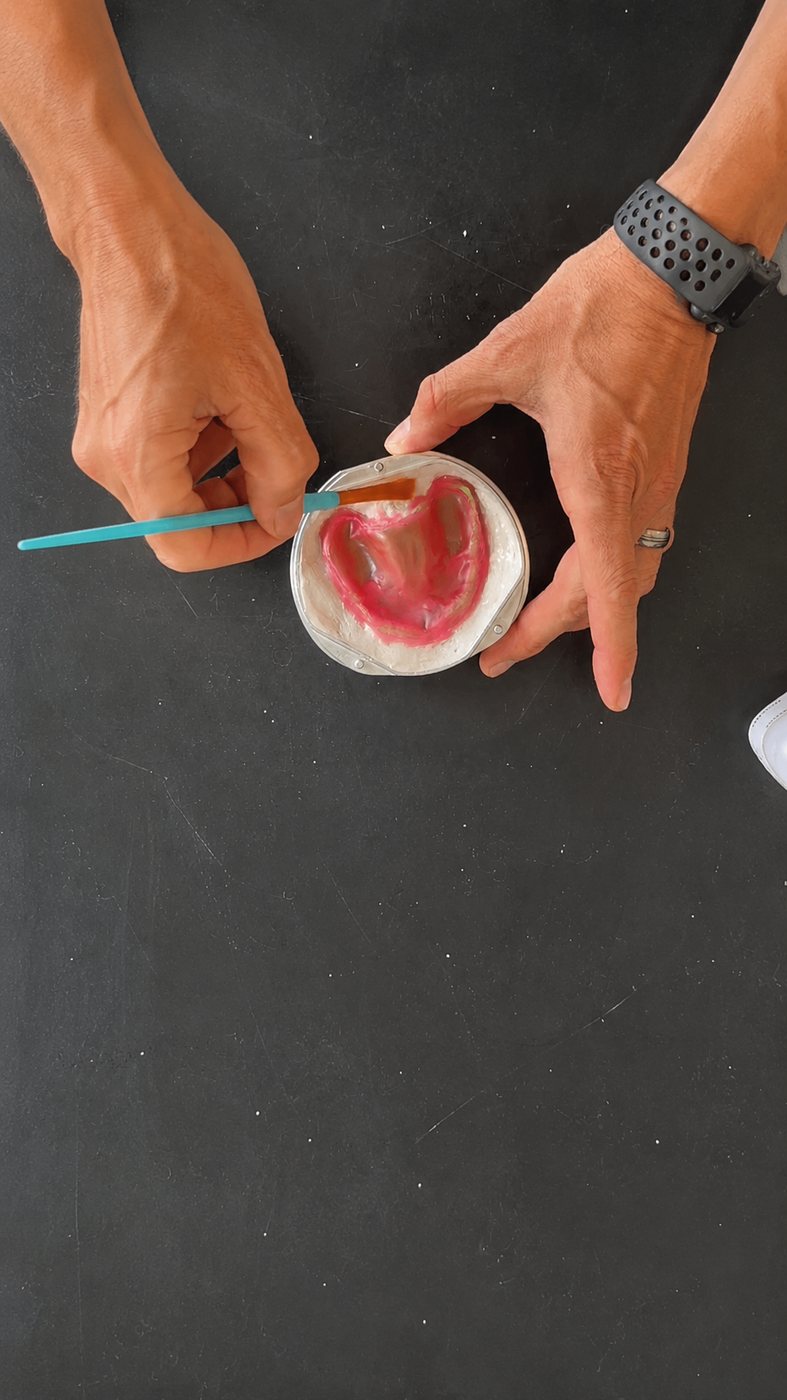
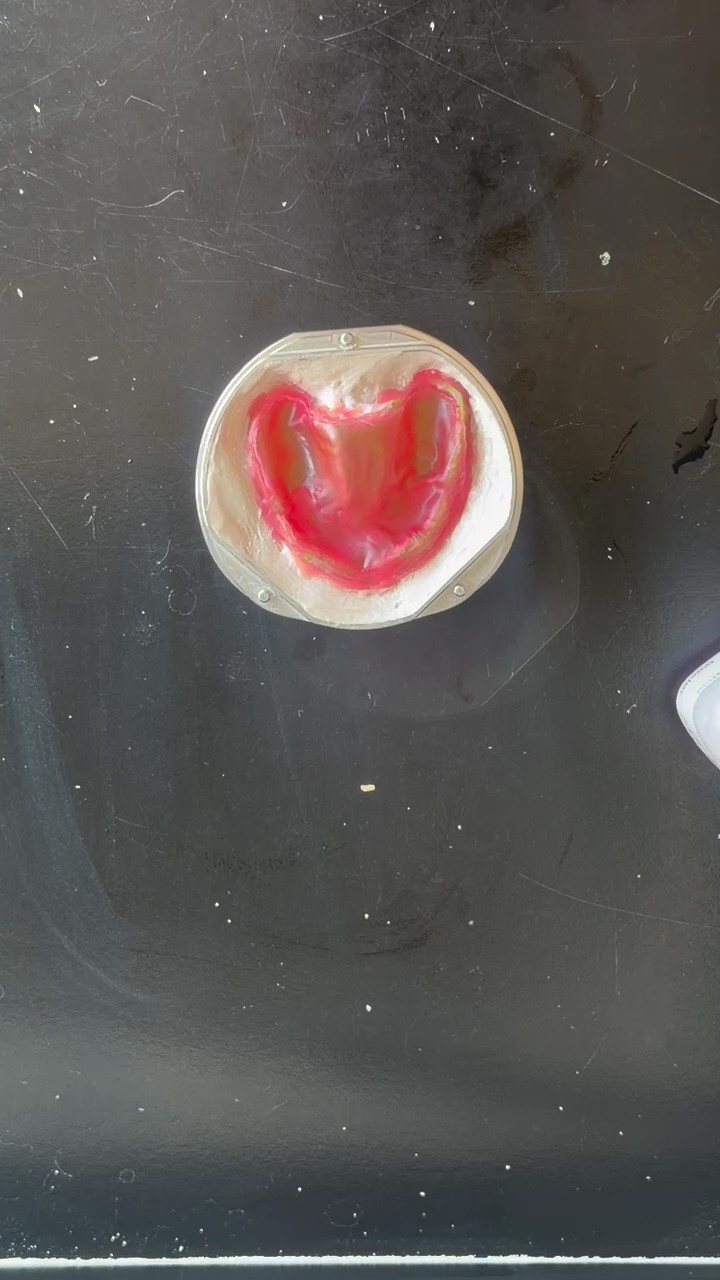
Paint the separator on the plaster/stone surfaces.
STEP 15
Add the flask adapter and mid flask section to the flask base.
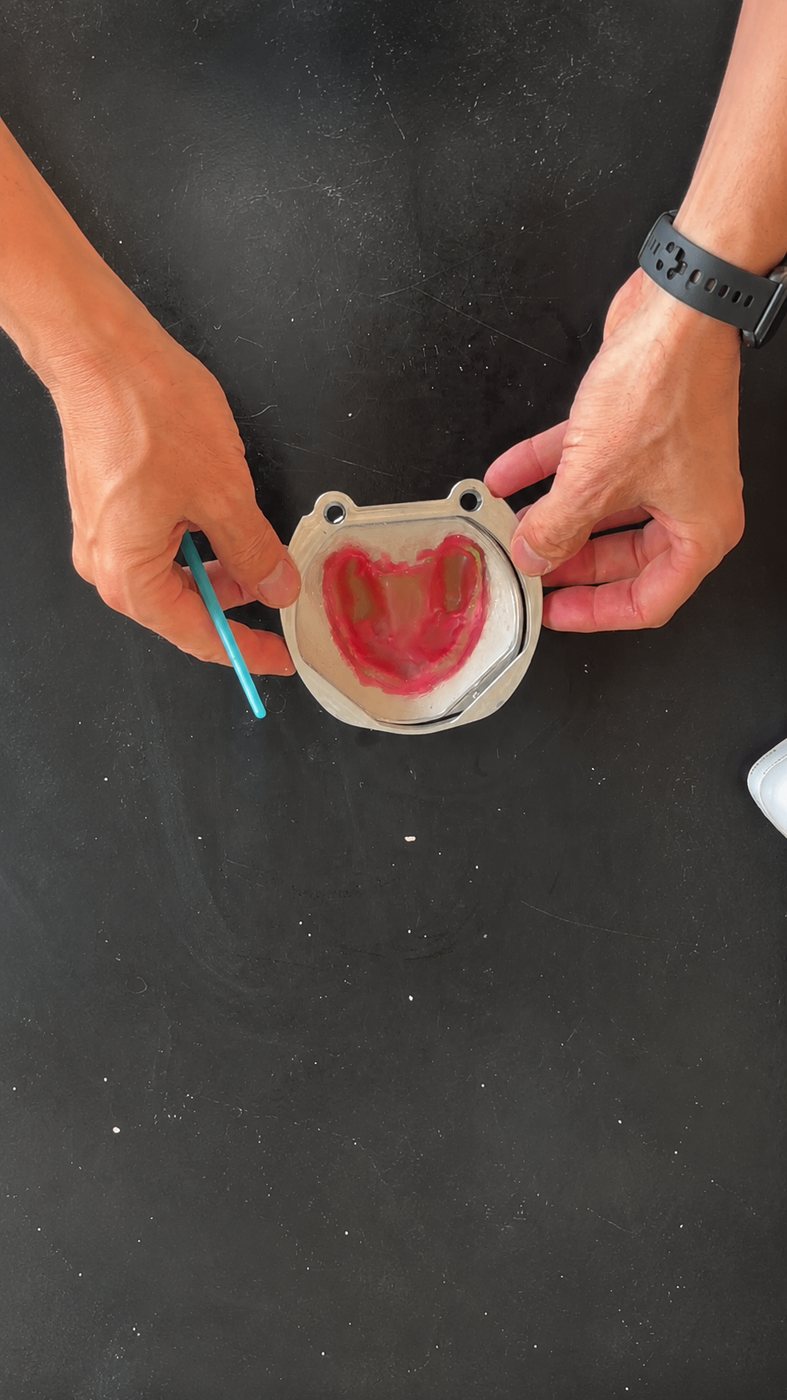
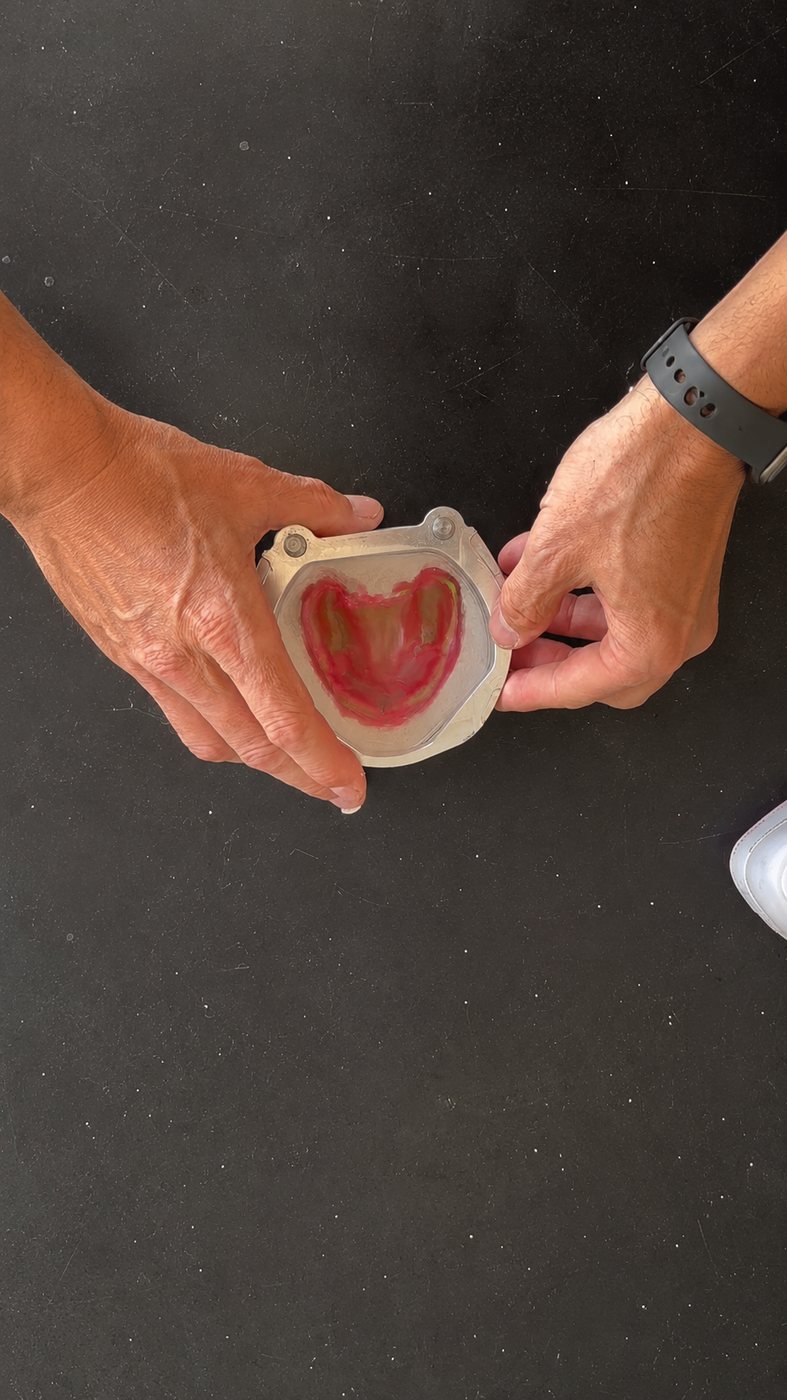
STEP 16
Add plaster/stone slightly above the mid flask section.
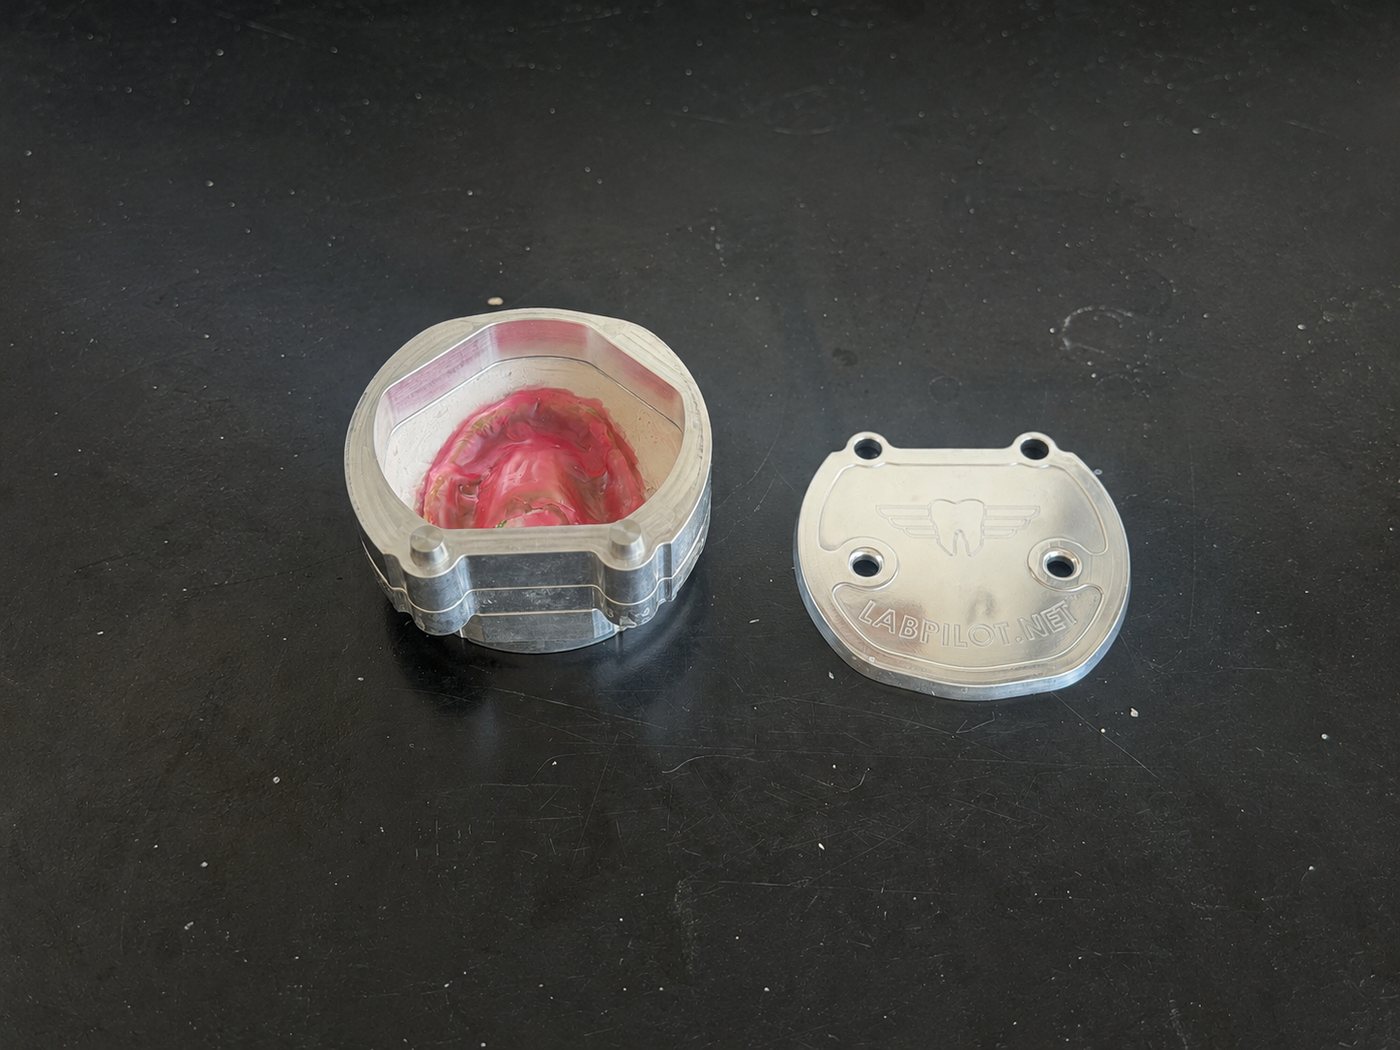
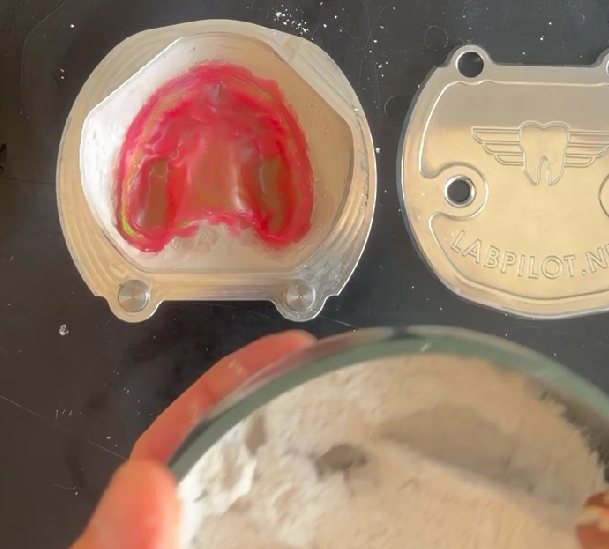
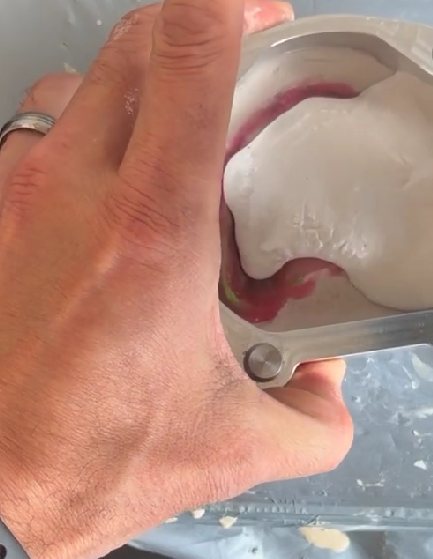
STEP 17
Place the lid onto the flask and press until fully seated, material should exude out.
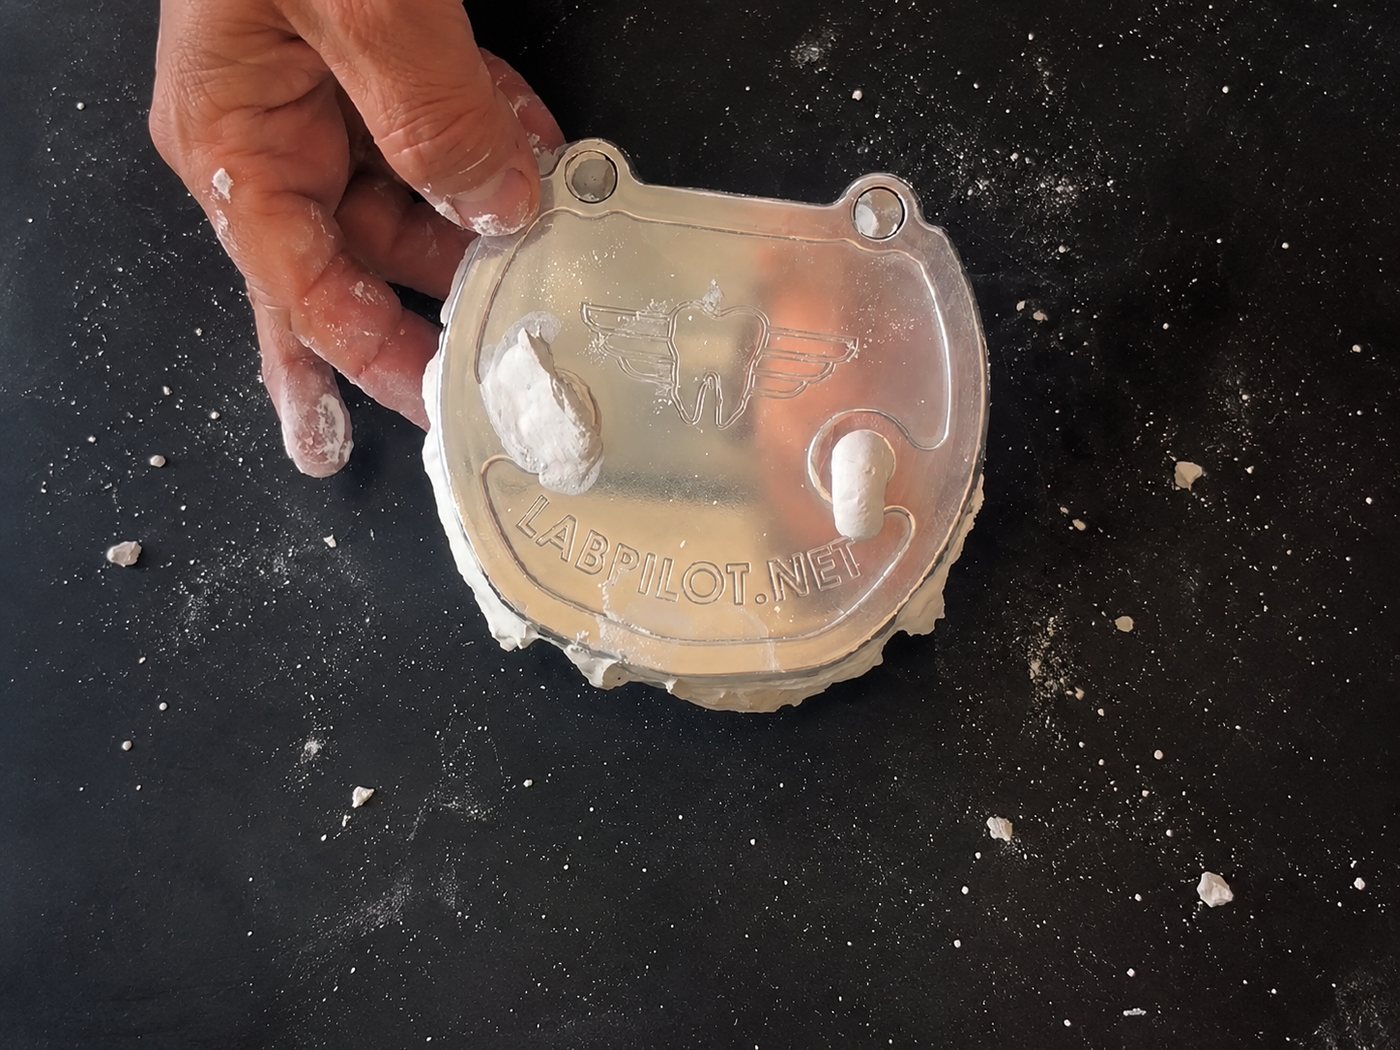
STEP 18
After the plaster/stone sets:
A) For a wax-up, proceed with the boil-out process and wax removal.
B) For a reline, no boiling is required.
STEP 19
Use the flask separating tool to separate the flask adapter and the mid flask section, where you would when traditionally flasking.
STEP 20
Prepare to add acrylic, painting the separator on stone/plaster surfaces. Prosthetic relines can either remain in place or can be removed and repositioned.
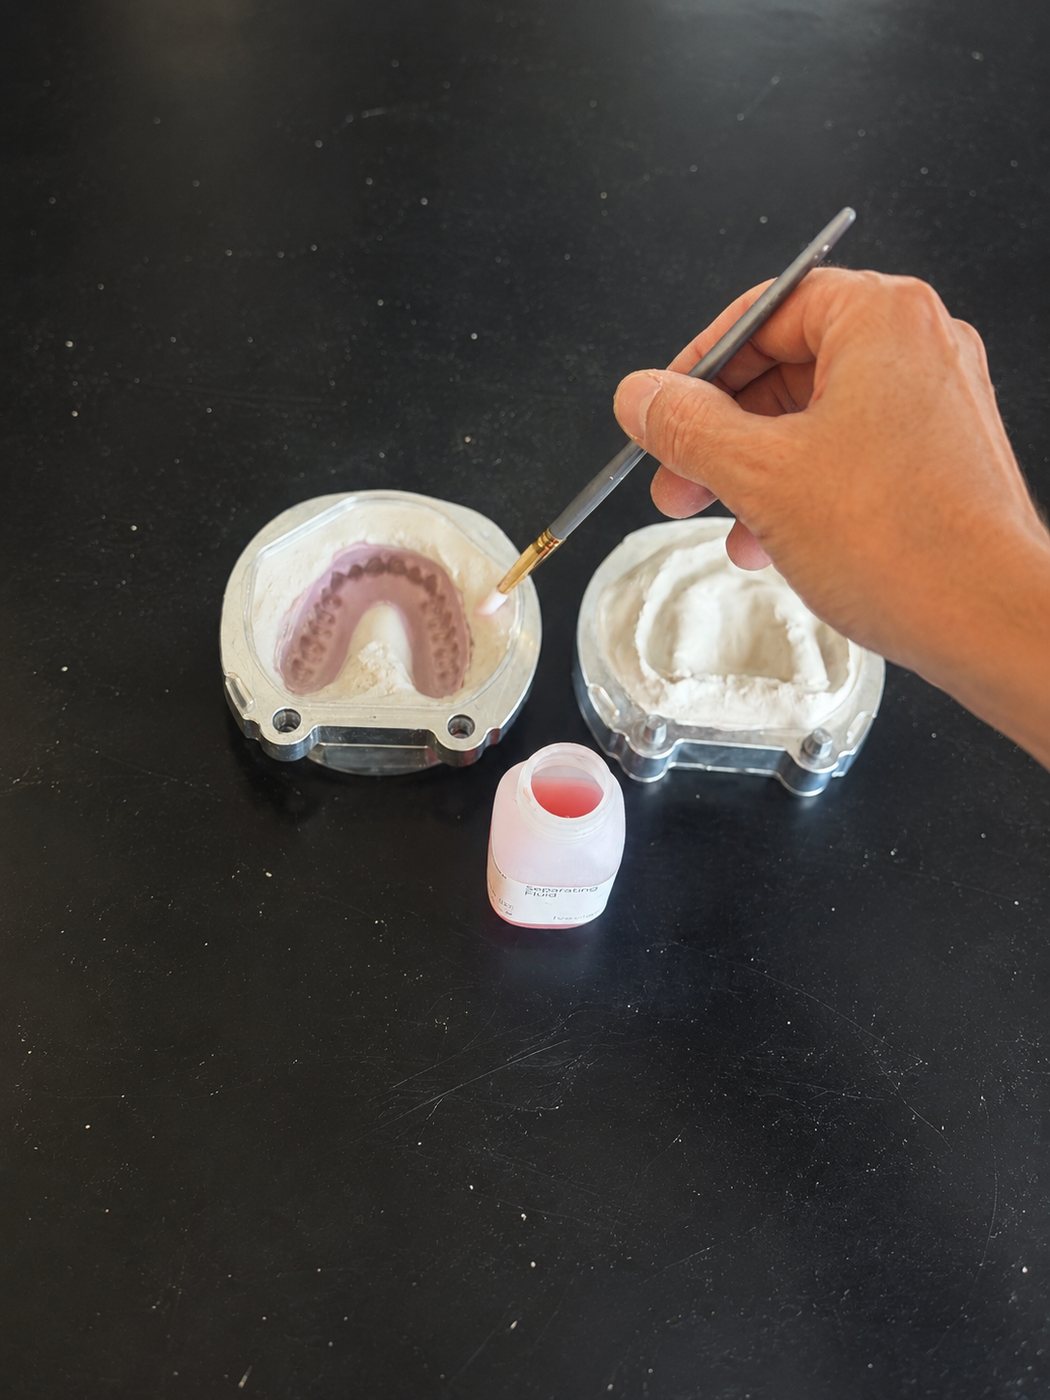
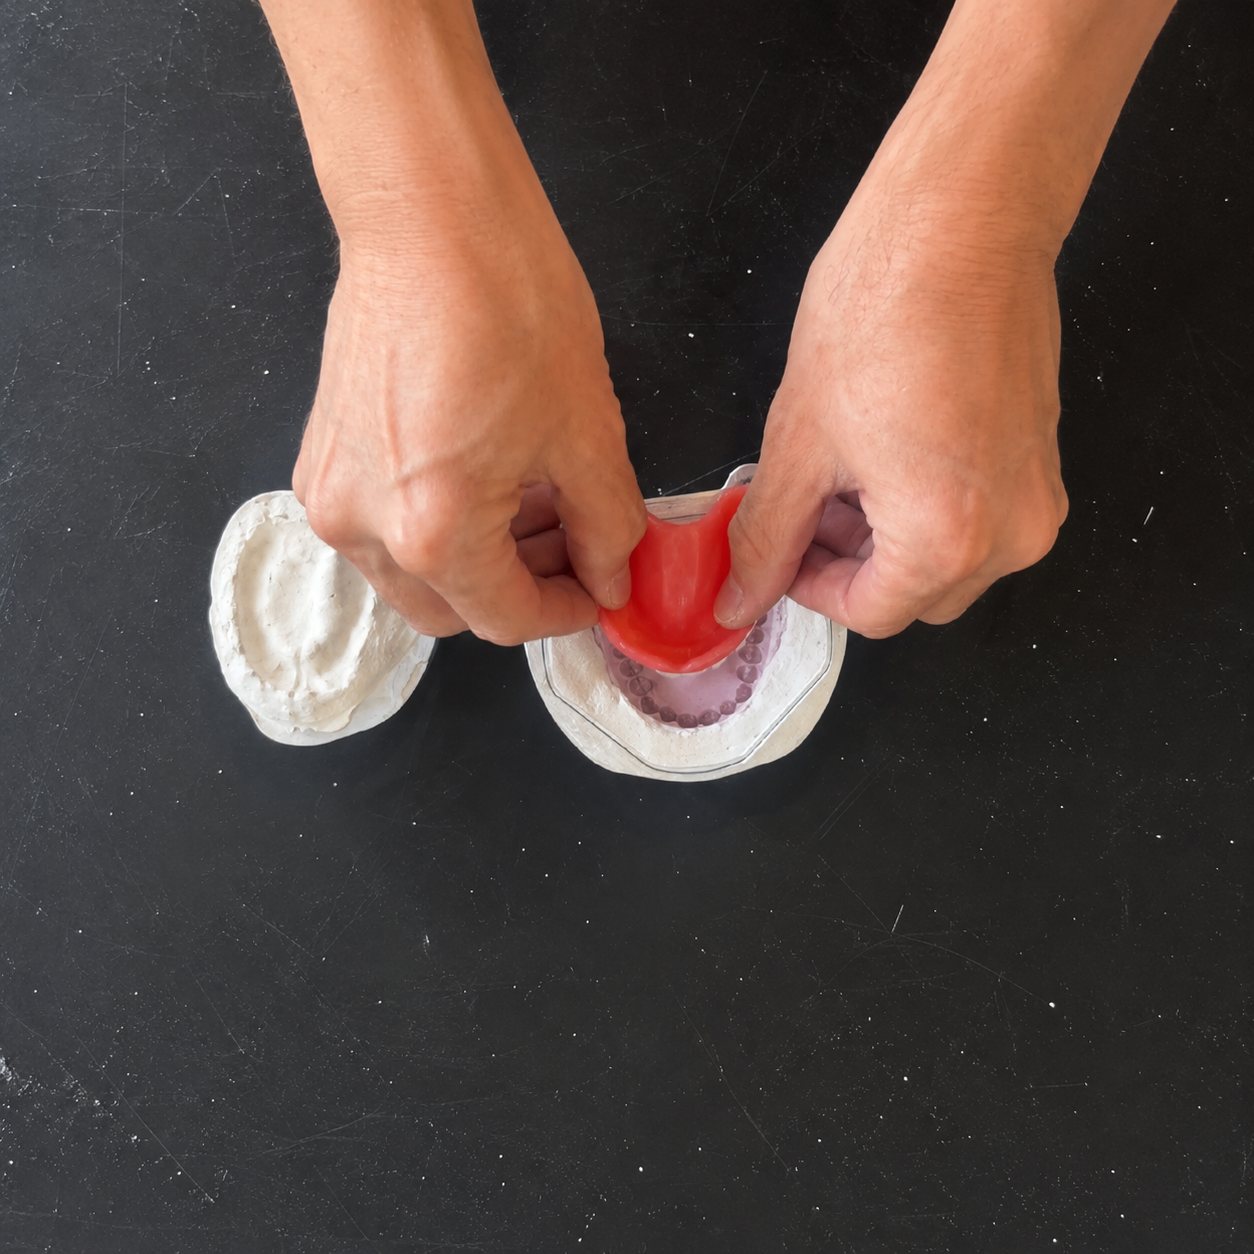
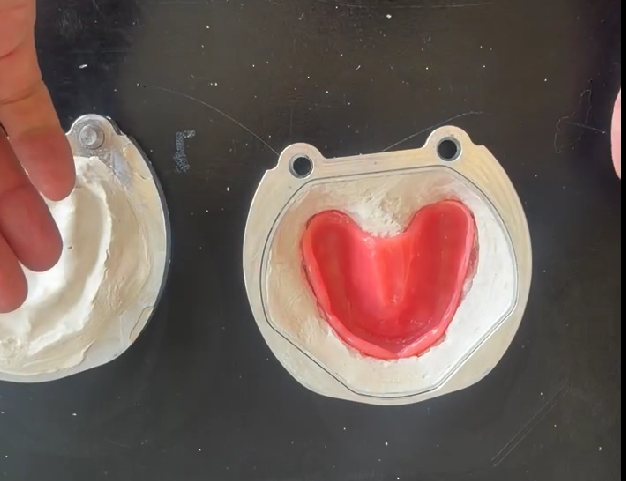
STEP 21
Use a plastic packing sheet to ensure that enough acrylic has been added, once confirmed, simply compress and go. No bite or vertical problems occur regardless of seal.
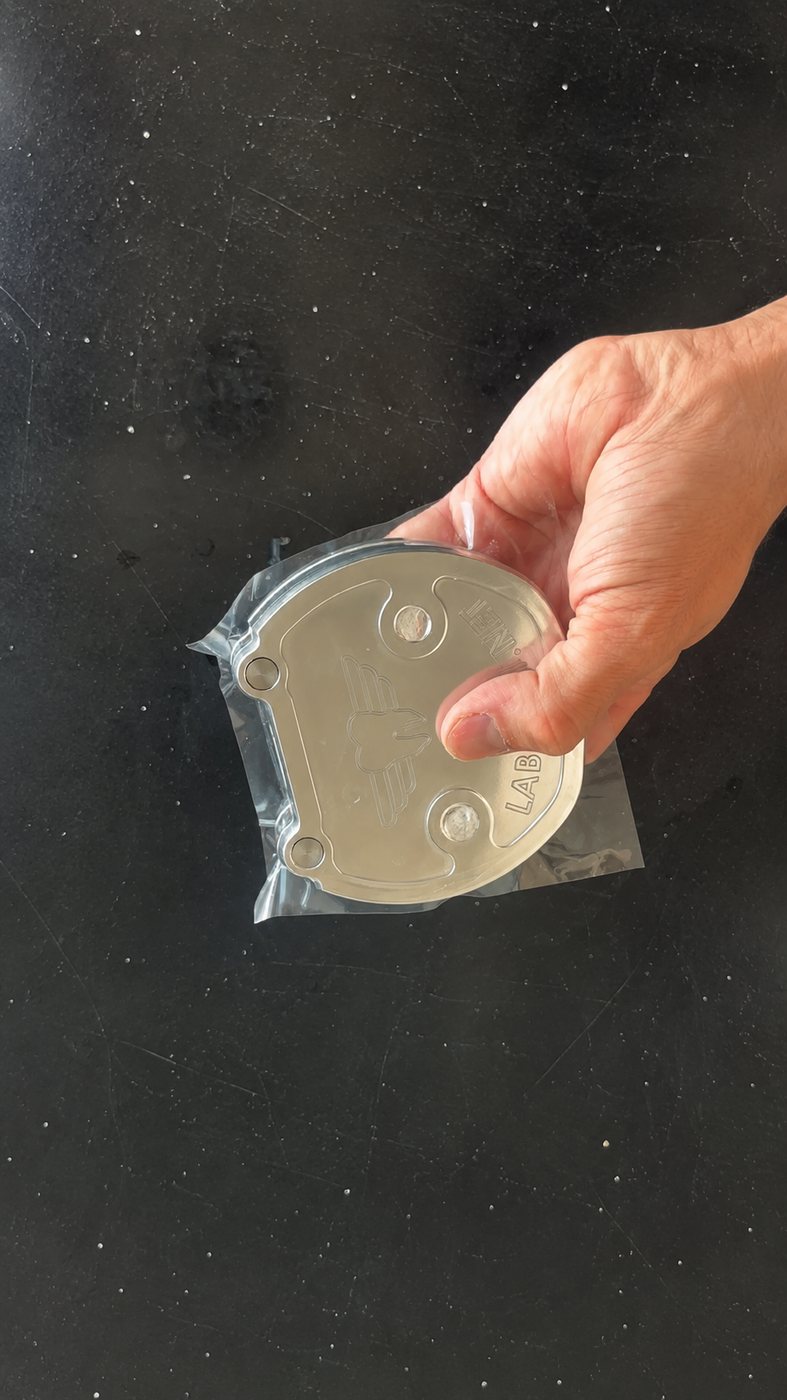
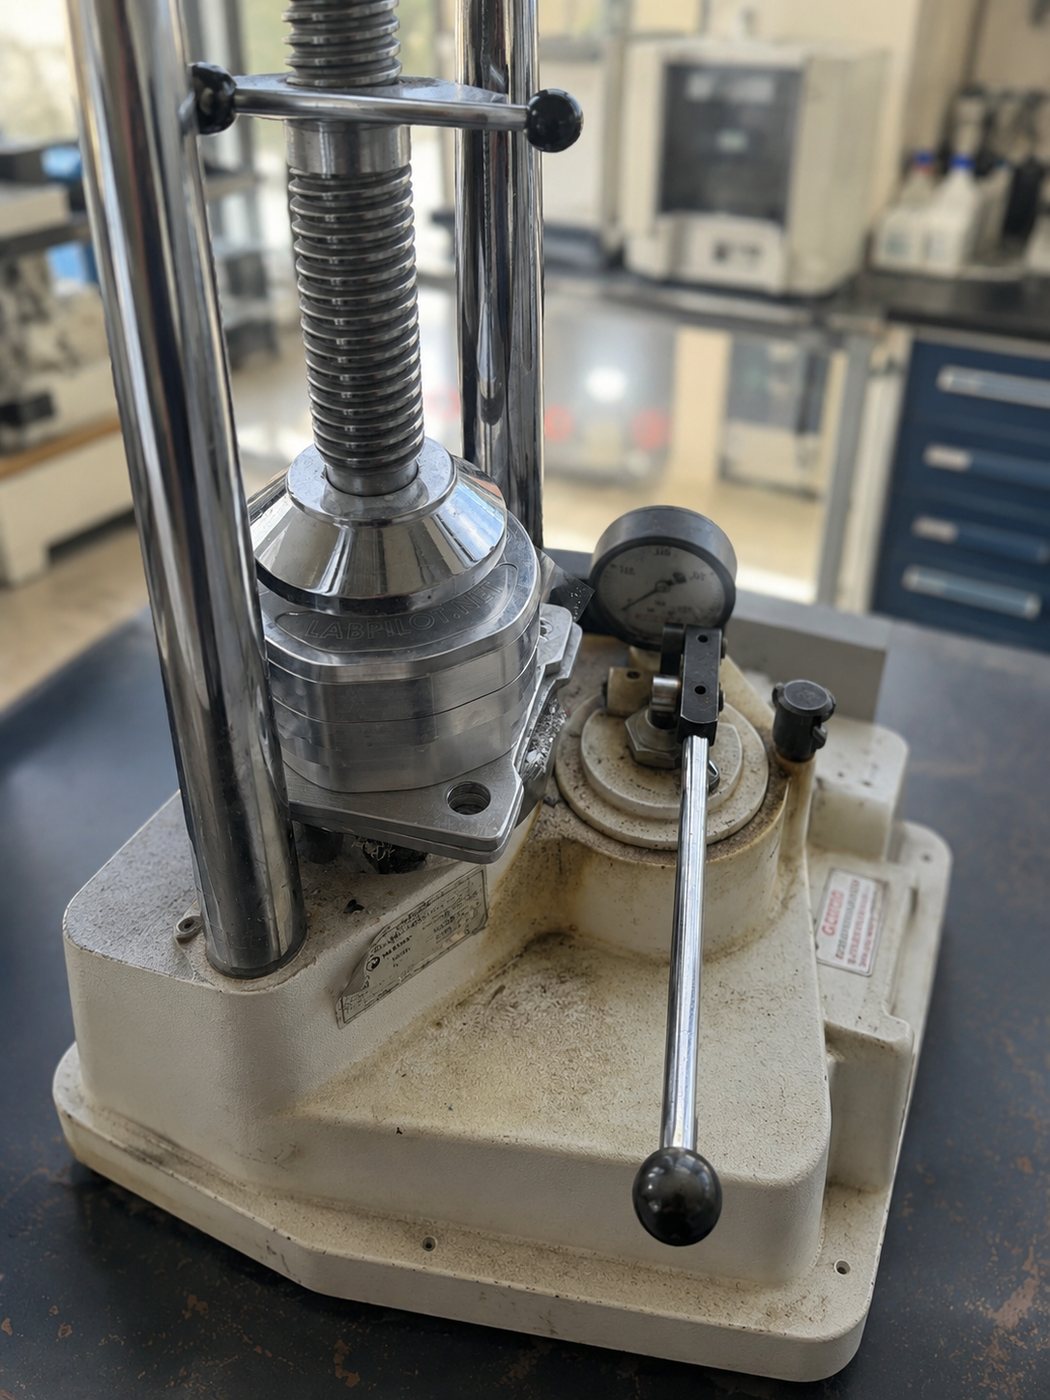
STEP 22
Follow the heat cure procedure as you typically would.
STEP 23
After the cool down is complete, use the deflasking tool to separate the flask adapter from the flask mid section, and the flask adapter from the flask base.
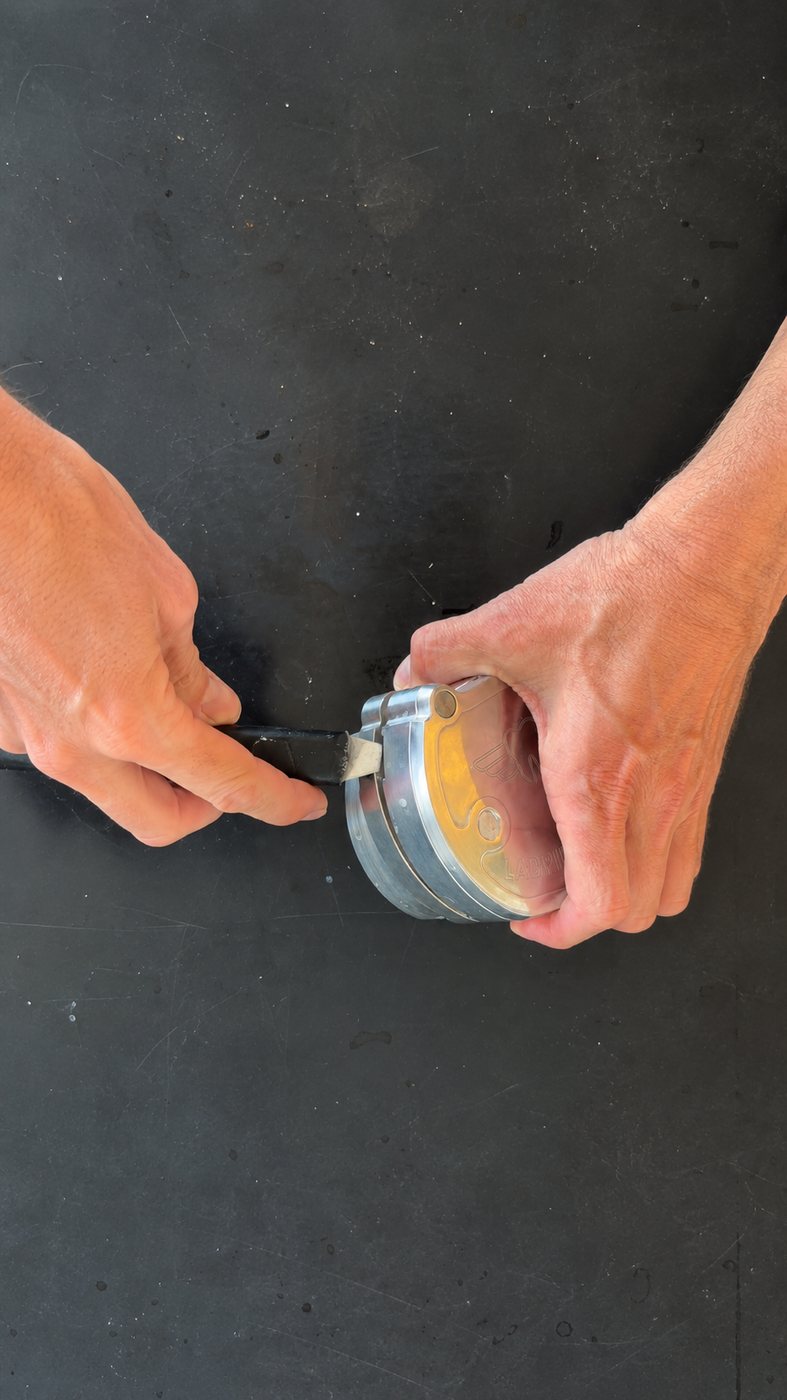
STEP 24
The top section is no longer required and the lid can be separated from the flask mid section with a deflasking tool. A hammer can be used to knock out any stone/plaster residue in that region.
STEP 25
Place the flask case into the holder/mill.
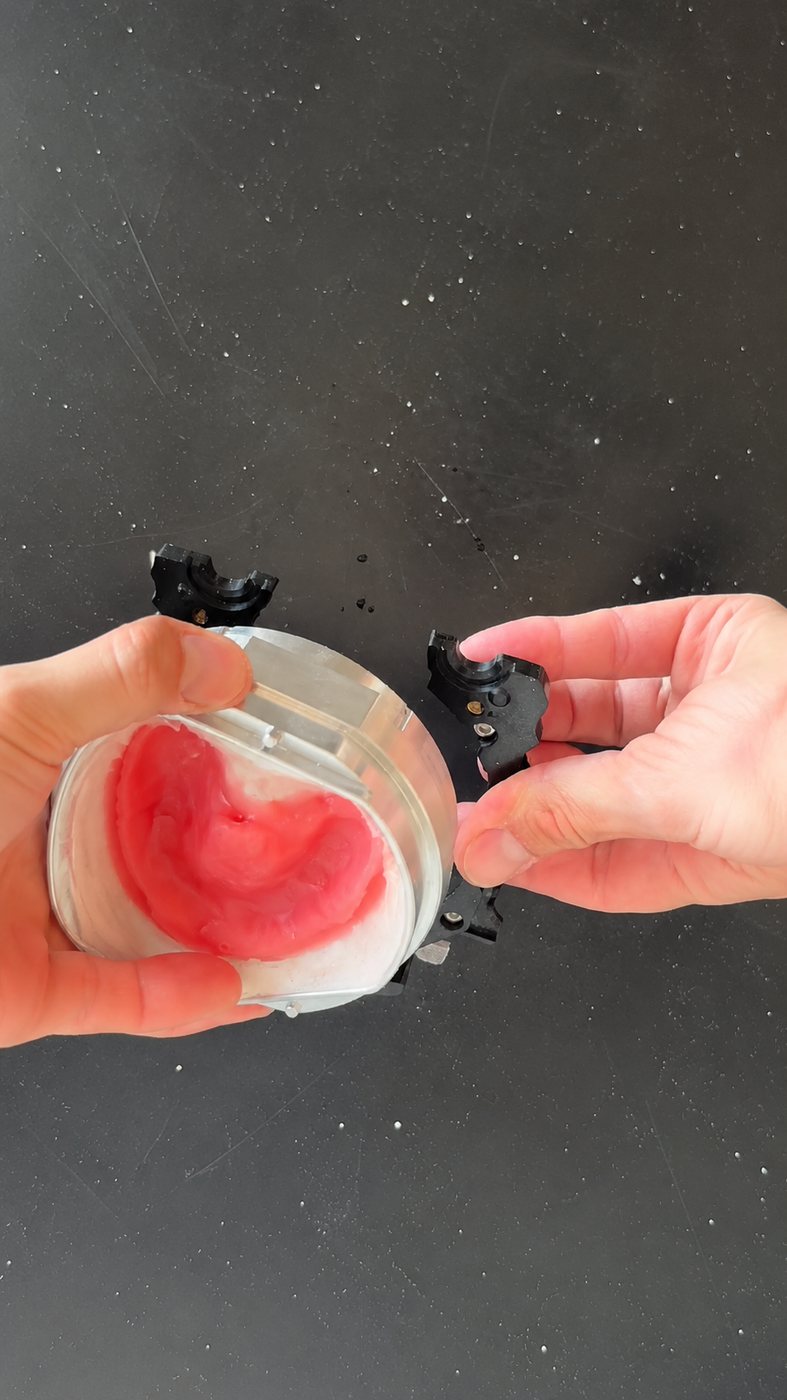
STEP 26
Take the machine file and play it on the machine. If using a Roland machine, ensure you are utilizing VPanel.
You've now completed the LabPilot Process.
Other languages
Scan me to view instructions in other languages.